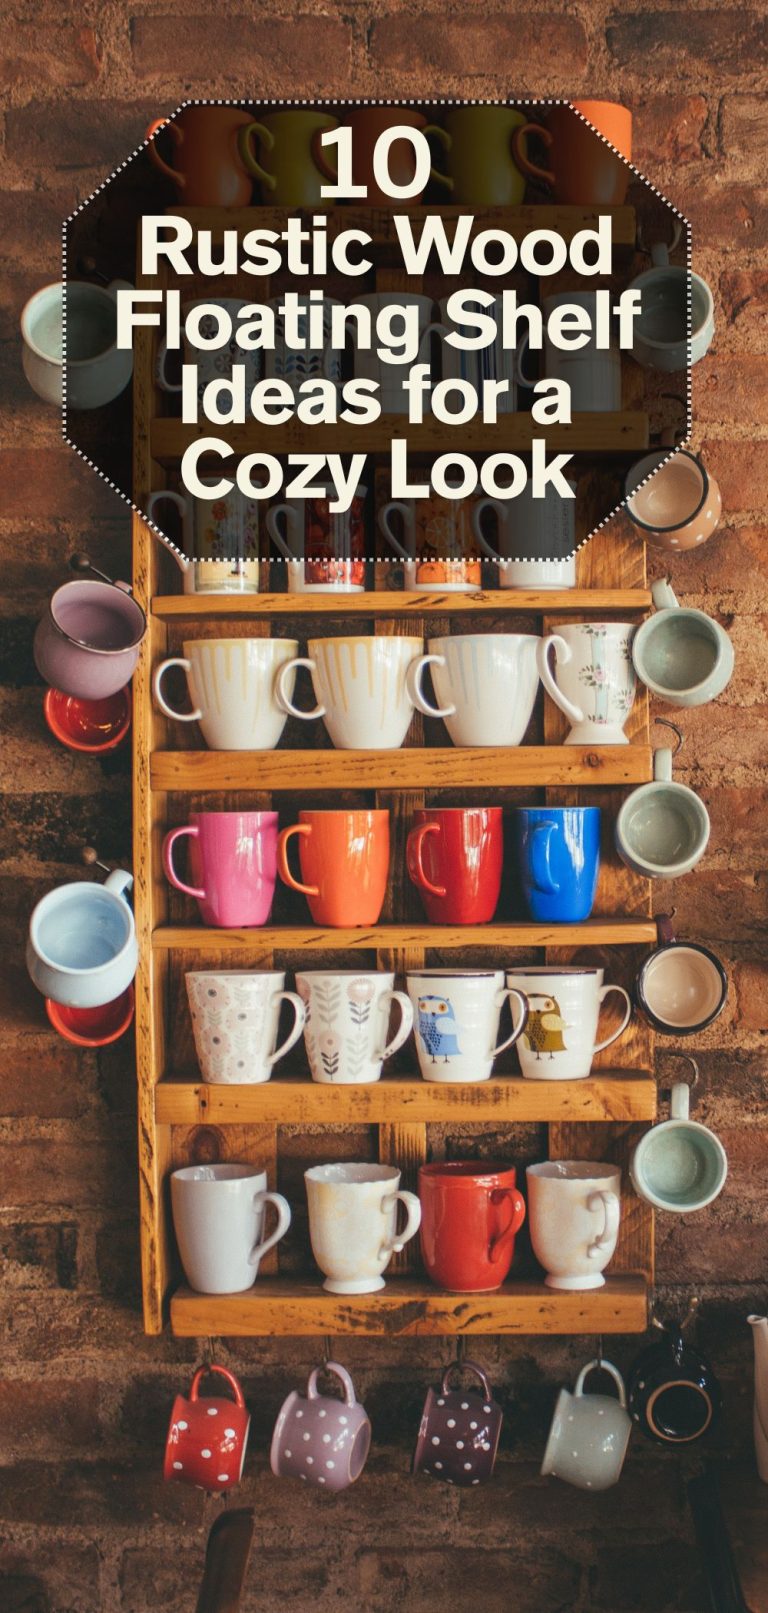
8 DIY Floating Shelf Ideas for Every Room
Floating shelves are a versatile, stylish way to add storage and charm to any room in your Zone 5 home, maximizing space while reflecting your passion for sustainable, budget-conscious, and elegant designs inspired by gardening (lettuce, lavender, zinnias, dahlias, roses, vegetables). These beginner-friendly DIY projects use reclaimed materials, natural textures, and garden-inspired elements, designed to withstand Zone 5’s indoor humidity and temperature fluctuations. Each shelf is tailored for a specific room—living room, bedroom, kitchen, bathroom, dining room, home office, nursery, and hallway—ensuring functionality and aesthetic harmony throughout your home.
This article presents 8 DIY floating shelf ideas, with step-by-step instructions, material lists, and care tips, blending gardening aesthetics with practical storage to create a cohesive, joyful home environment.
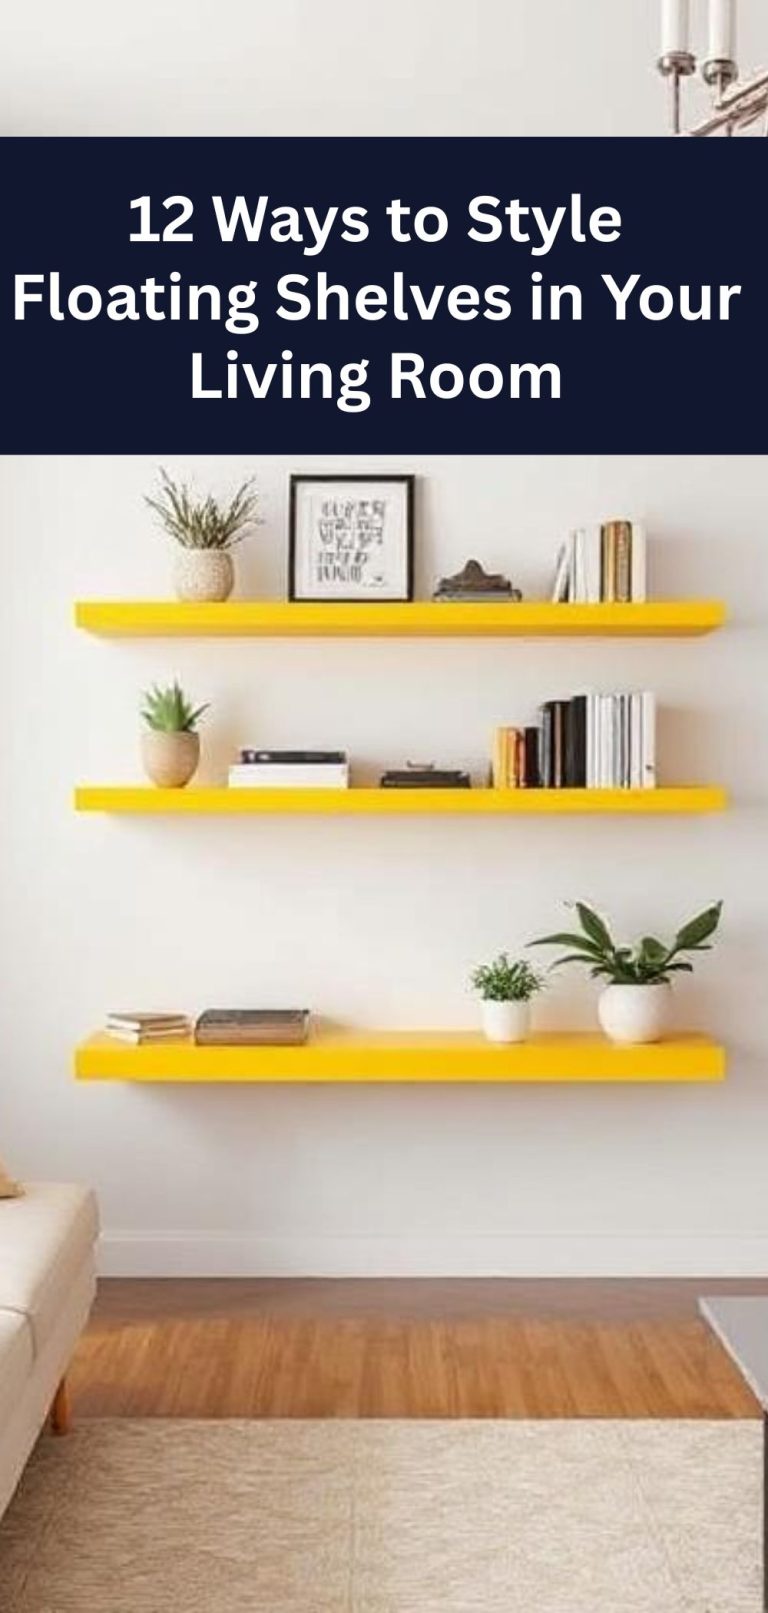
Living Room: Reclaimed Wood Zinnia Display Shelf
A reclaimed wood shelf with zinnia-inspired paint accents in vibrant reds and yellows stores books or decor, adding rustic warmth to a Zone 5 living room.
- Materials: 1 reclaimed wood plank (8×30 inches, $5-10), acrylic paint (red, yellow, $4 each), 2 floating brackets ($5 each), wall anchors (50-lb, $5), screws ($2), clear sealant ($4).
- Tools: Drill, level, sandpaper, paintbrush.
- Steps:
- Sand plank to remove splinters; apply clear sealant to protect against humidity.
- Paint zinnia-inspired floral patterns on edges; let dry for 4 hours.
- Attach two floating brackets to the back, 20 inches apart.
- Mount brackets to wall studs, 48 inches from the floor, ensuring level.
- Secure plank; test with a 15-lb weight; style with books or potted zinnias (‘Benary’s Giant’).
- Care Tips: Dust weekly; wipe with a damp cloth; check brackets quarterly.
- Zone 5 Tip: Place away from radiators to avoid wood drying in winter.
- Dimensions: 8×30 inches, 1 inch thick.
Pro DIY Tip: Use a stencil for precise floral designs.
Budget Consideration: Source free reclaimed wood from local salvage; total cost $15-25.
Bedroom: Lavender Rope-Wrapped Shelf
A pine shelf wrapped with jute rope, inspired by lavender stems, holds candles or small decor, creating a serene vibe in a Zone 5 bedroom.
- Materials: 1 pine plank (6×24 inches, $5), jute rope ($3), 2 L-brackets ($3 each), wall anchors (50-lb, $5), wood stain ($4), screws ($2), hot glue ($3).
- Tools: Drill, level, sandpaper, hot glue gun.
- Steps:
- Sand plank; apply wood stain for a rustic finish; let dry.
- Glue rope in tight rows along plank edges to mimic lavender stems; secure ends.
- Attach two L-brackets to the back, 16 inches apart.
- Mount brackets to wall studs, 40 inches from the floor; secure plank.
- Test with a 10-lb weight; add cat-safe lavender-scented candles or small plants.
- Care Tips: Dust rope gently; avoid water exposure; tighten screws annually.
- Zone 5 Tip: Ensure ventilation to prevent rope mold in humid winters.
- Dimensions: 6×24 inches, 1 inch thick.
Pro DIY Tip: Braid rope for added texture.
Budget Consideration: Use leftover rope; total cost $15-20.
Kitchen: Vegetable Crate Spice Shelf
A halved wooden crate shelf, inspired by vegetable harvest crates, organizes spice jars or herbs, bringing rustic functionality to a Zone 5 kitchen.
- Materials: 1 wooden crate (12×12 inches, $5), saw, sandpaper, clear sealant ($5), 2 L-brackets ($3 each), wall anchors (50-lb, $5), screws ($2), 3 small pots ($2 each).
- Tools: Drill, level, paintbrush.
- Steps:
- Cut crate in half lengthwise (6×12 inches); sand edges; apply sealant.
- Attach two L-brackets to the back of the half-crate.
- Mount brackets to wall studs, 36 inches from the floor, near the stove; ensure level.
- Secure crate; test with a 10-lb weight.
- Place spice jars or potted herbs (e.g., parsley) in pots with drainage trays.
- Care Tips: Wipe with a damp cloth; water herbs sparingly; avoid grease splatter.
- Zone 5 Tip: Position away from stove heat to protect wood.
- Dimensions: 6×12 inches, 6 inches deep.
Pro DIY Tip: Paint crate slats green to evoke vegetable fields.
Budget Consideration: Source free crates from markets; total cost $15-20.

Bathroom: Dahlia Tile-Topped Shelf
A floating shelf with mosaic tiles in dahlia-inspired corals organizes toiletries, adding vibrant luxury to a Zone 5 bathroom.
- Materials: 1 plywood plank (6×18 inches, $5), mosaic tiles (coral, $5), tile adhesive ($4), grout ($4), 2 floating brackets ($5 each), wall anchors (50-lb, $5), screws ($2).
- Tools: Drill, level, tile cutter, sponge.
- Steps:
- Sand plywood; apply tile adhesive to the top surface.
- Arrange mosaic tiles in a dahlia-like pattern; let set for 24 hours.
- Apply grout between tiles; wipe excess with a sponge; let dry.
- Attach floating brackets to the back; mount to wall studs at 38 inches.
- Test with a 10-lb weight; style with small toiletries or a pothos plant (cat-safe).
- Care Tips: Clean tiles with a damp cloth; check grout for cracks; avoid overloading.
- Zone 5 Tip: Use waterproof grout to resist bathroom humidity.
- Dimensions: 6×18 inches, 1 inch thick.
Pro DIY Tip: Create a petal pattern with tiles for a bold effect.
Budget Consideration: Use leftover tiles; total cost $15-25.
Dining Room: Rose Pallet Wine Shelf
A reclaimed pallet shelf, inspired by rose trellises, stores wine bottles or glassware, adding rustic elegance to a Zone 5 dining room.
- Materials: 1 pallet section (6×24 inches, free), sandpaper, wood stain ($5), 2 heavy-duty L-brackets ($4 each), wall anchors (75-lb, $5), screws ($2).
- Tools: Crowbar, drill, level, saw.
- Steps:
- Disassemble pallet; select a 6×24-inch section; sand thoroughly.
- Apply wood stain for a polished look; let dry.
- Attach two L-brackets to the back, 18 inches apart.
- Mount brackets to wall studs, 50 inches from the floor; secure section.
- Test with a 15-lb weight; arrange wine bottles or glassware.
- Care Tips: Dust monthly; check for splintering; avoid overloading.
- Zone 5 Tip: Store indoors to prevent moisture damage in winter.
- Dimensions: 6×24 inches, 1 inch thick.
Pro DIY Tip: Add small hooks under the shelf for wine glasses.
Budget Consideration: Source free pallets from warehouses; total cost $15-20.
Home Office: Lettuce Leaf Corkboard Shelf
A shelf with a corkboard top, inspired by lettuce leaves, organizes notes or small supplies, adding functionality to a Zone 5 home office.
- Materials: 1 pine plank (6×20 inches, $5), cork sheet (6×20 inches, $5), wood stain ($4), 2 L-brackets ($3 each), wall anchors (50-lb, $5), screws ($2), spray adhesive ($4).
- Tools: Drill, level, sandpaper, utility knife.
- Steps:
- Sand plank; apply wood stain; let dry.
- Cut cork sheet to fit plank; attach with spray adhesive.
- Attach two L-brackets to the back, 14 inches apart.
- Mount brackets to wall studs, 40 inches from the floor; secure plank.
- Test with a 10-lb weight; pin notes or place small office supplies.
- Care Tips: Dust cork; avoid water to prevent peeling; tighten screws quarterly.
- Zone 5 Tip: Place away from humidifiers to protect cork.
- Dimensions: 6×20 inches, 1 inch thick.
Pro DIY Tip: Paint cork edges green to match lettuce theme.
Budget Consideration: Use scrap cork; total cost $15-25.
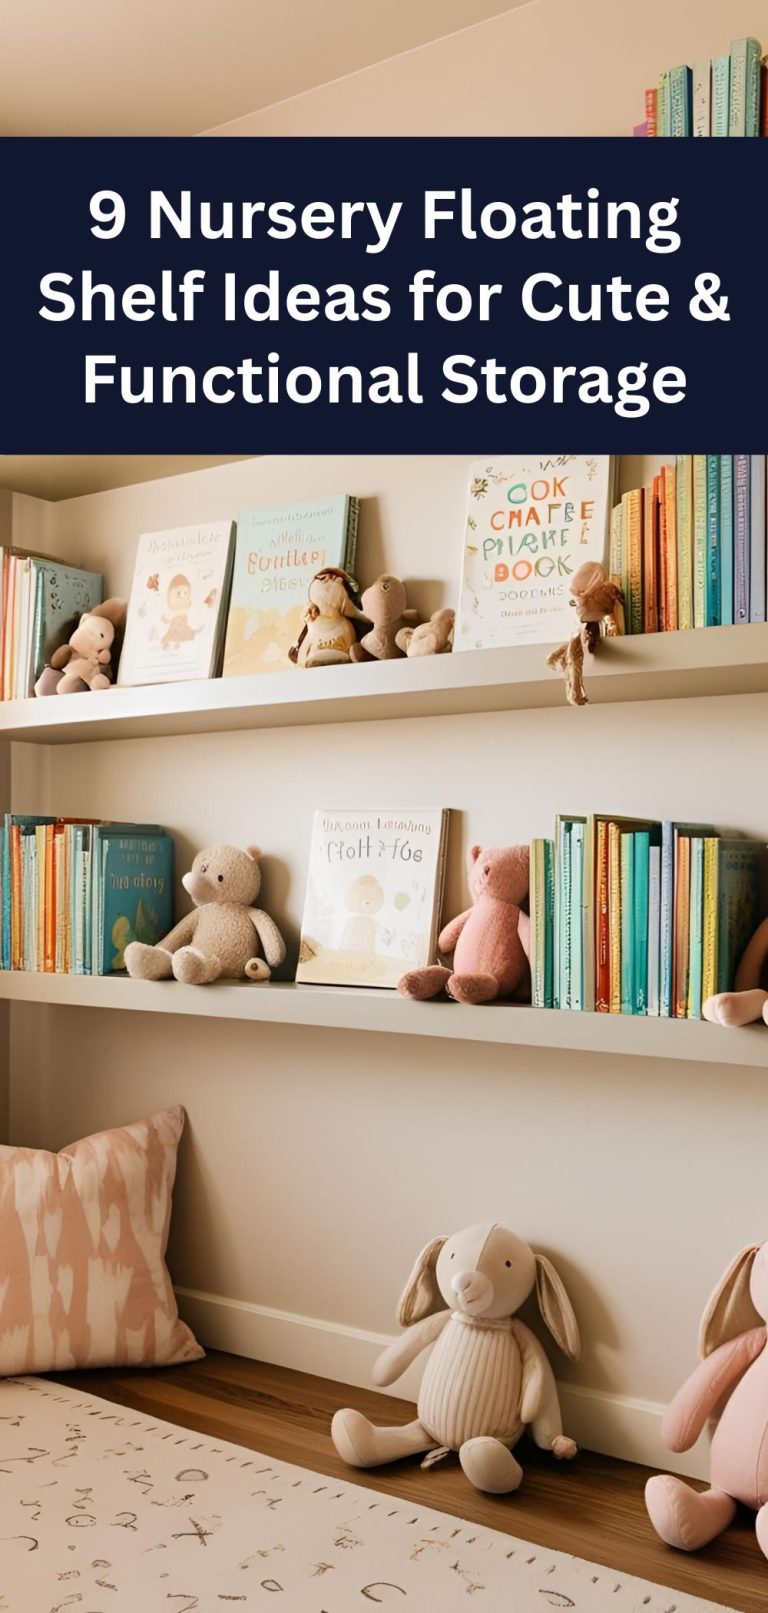
Nursery: Fairy Garden Mini Shelf
A small pastel-painted shelf with fairy garden decor (mini pots, moss) stores toys or books, adding whimsical charm to a Zone 5 nursery.
- Materials: 1 pine plank (4×16 inches, $4), pastel paint (mint, $4), 2 L-brackets ($3 each), wall anchors (50-lb, $5), 2 mini pots ($2 each), moss ($3), screws ($2).
- Tools: Drill, level, sandpaper, paintbrush.
- Steps:
- Sand plank; paint mint; let dry.
- Attach two L-brackets to the back, 10 inches apart.
- Mount brackets to wall studs, 36 inches from the floor; secure plank.
- Place mini pots with cat-safe plants (e.g., spider plant) and scatter moss.
- Test with a 10-lb weight; add small toys or books.
- Care Tips: Dust moss; mist plants weekly; check brackets for stability.
- Zone 5 Tip: Use low-light plants for winter nursery conditions.
- Dimensions: 4×16 inches, 1 inch thick.
Pro DIY Tip: Glue moss sparingly to avoid shedding.
Budget Consideration: Use scrap wood; total cost $15-20.
Hallway: Rustic Pipe Photo Shelf
A reclaimed wood shelf with industrial pipe brackets displays photo frames, blending rustic and modern aesthetics in a Zone 5 hallway.
- Materials: 1 reclaimed plank (6×24 inches, $5), 2 pipe brackets (1/2-inch, $5 each), wall anchors (50-lb, $5), screws ($2), clear sealant ($4), 3 small photo frames ($3 each).
- Tools: Drill, level, sandpaper, paintbrush.
- Steps:
- Sand plank; apply clear sealant for durability.
- Attach pipe brackets to the back, 16 inches apart.
- Mount brackets to wall studs, 48 inches from the floor; secure plank.
- Test with a 15-lb weight; arrange photo frames or small decor.
- Ensure pipes are rust-resistant.
- Care Tips: Dust frames and shelf monthly; tighten fittings if loose.
- Zone 5 Tip: Place in a low-humidity area to prevent pipe corrosion.
- Dimensions: 6×24 inches, 1 inch thick.
Pro DIY Tip: Paint pipes matte black for a sleek contrast.
Budget Consideration: Use scrap wood and thrifted frames; total cost $15-25.
Conclusion
These 8 DIY floating shelf ideas—zinnia display, lavender rope, vegetable crate, dahlia tile, rose pallet, lettuce corkboard, fairy garden, and pipe photo—bring functional elegance to every room in your Zone 5 home. Reflecting your love for lettuce, lavender, zinnias, dahlias, roses, and vegetables, these sustainable, budget-conscious projects use reclaimed materials and garden-inspired elements to organize and beautify living rooms, bedrooms, kitchens, bathrooms, dining rooms, offices, nurseries, and hallways. Beginner-friendly and designed for Zone 5’s indoor conditions, they create a cohesive, joyful atmosphere.
Customize these shelves with local materials or personal touches to suit each room’s purpose. Whether storing spices or displaying photos, these floating shelves will enhance your Zone 5 home with style and practicality. Happy building and gardening!