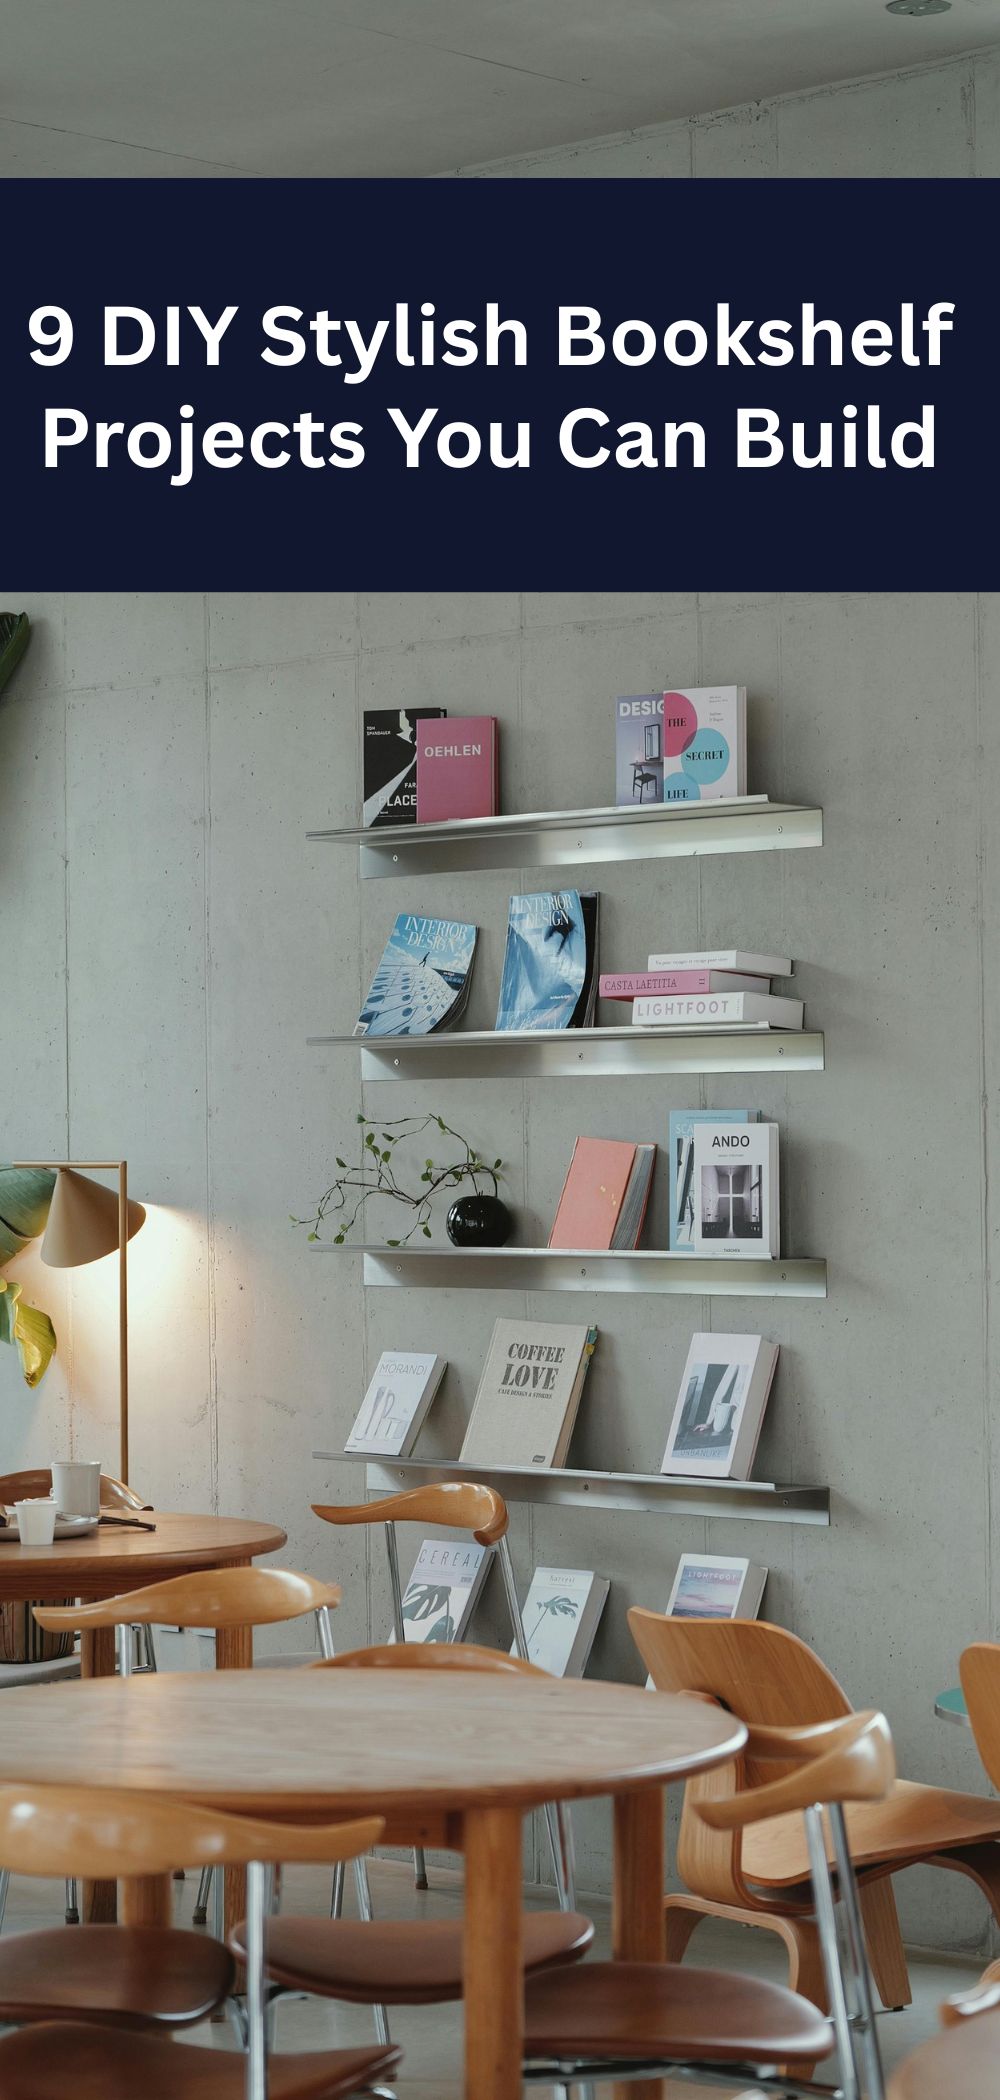
9 DIY Stylish Bookshelf Projects You Can Build
Building your own bookshelf is a rewarding way to add style and functionality to your home while showcasing your creativity. These DIY projects are designed for beginners and seasoned crafters alike, using accessible materials to create stunning shelves that fit any space. From rustic to modern, these stylish bookshelves will elevate your decor and provide a home for your books and treasures.
In this article, we explore 9 DIY bookshelf projects that are easy to build and customizable to your aesthetic. Each project includes step-by-step guidance, material suggestions, and tips to ensure a polished result. Get ready to roll up your sleeves and create a bookshelf that’s uniquely yours.
Rustic Crate Bookshelf: Farmhouse Charm
Transform wooden crates into a rustic bookshelf with a cozy, farmhouse vibe. Perfect for a living room or bedroom, this stackable design is ideal for displaying books, plants, or woven baskets.
Materials:
- 4-6 wooden crates (12x12x18 inches)
- Sandpaper (120-grit)
- Wood stain (e.g., walnut) or paint
- Screws and screwdriver
- Optional: L-brackets for stability
Steps:
- Sand the crates to smooth rough edges.
- Apply wood stain or paint; let dry for 24 hours.
- Arrange crates in a stack (vertical, horizontal, or mixed).
- Secure crates together with screws for stability.
- Attach L-brackets to the wall if needed for safety.
Customization: Paint crates in pastel colors for a modern twist.
Pro Tip: Add felt pads under the crates to protect floors.
Budget Consideration: Source crates from thrift stores or use pallet wood for a cheaper alternative.
Skill Level: Beginner
Time: 1-2 days
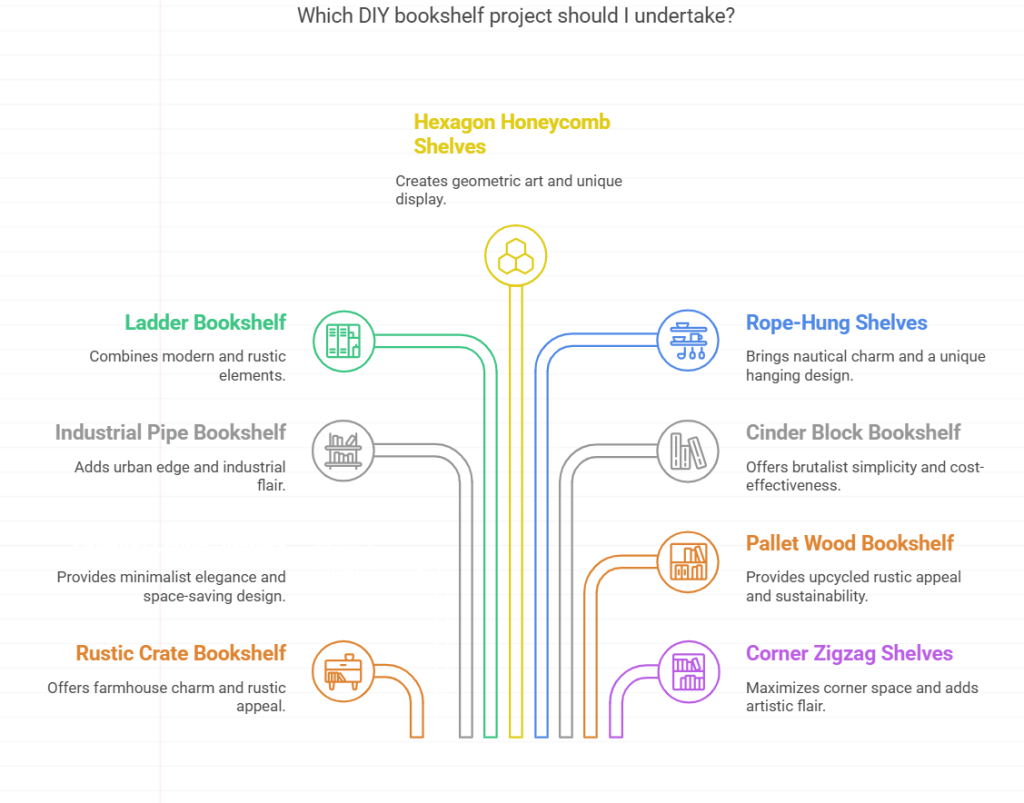
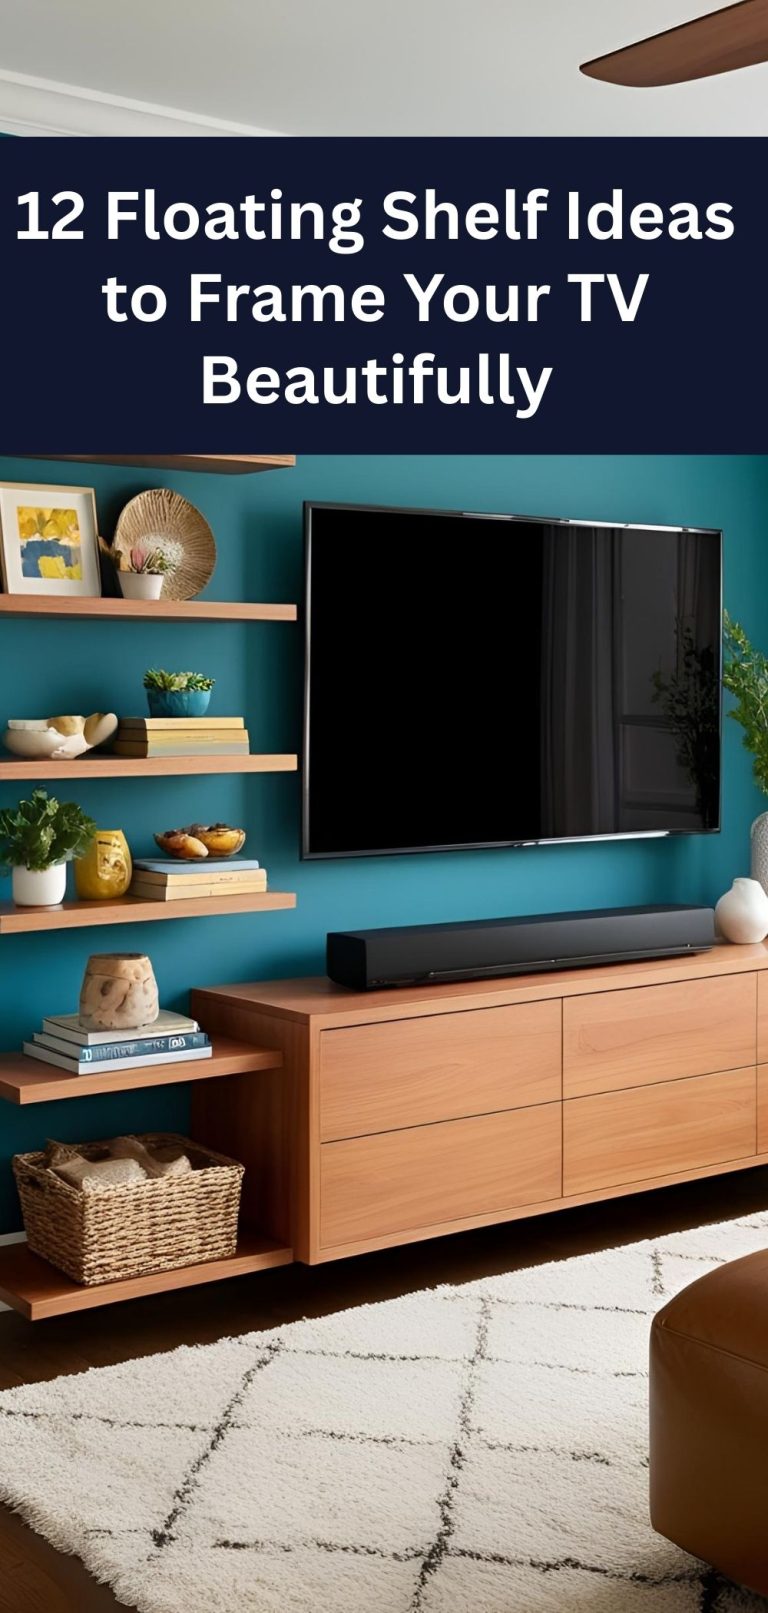
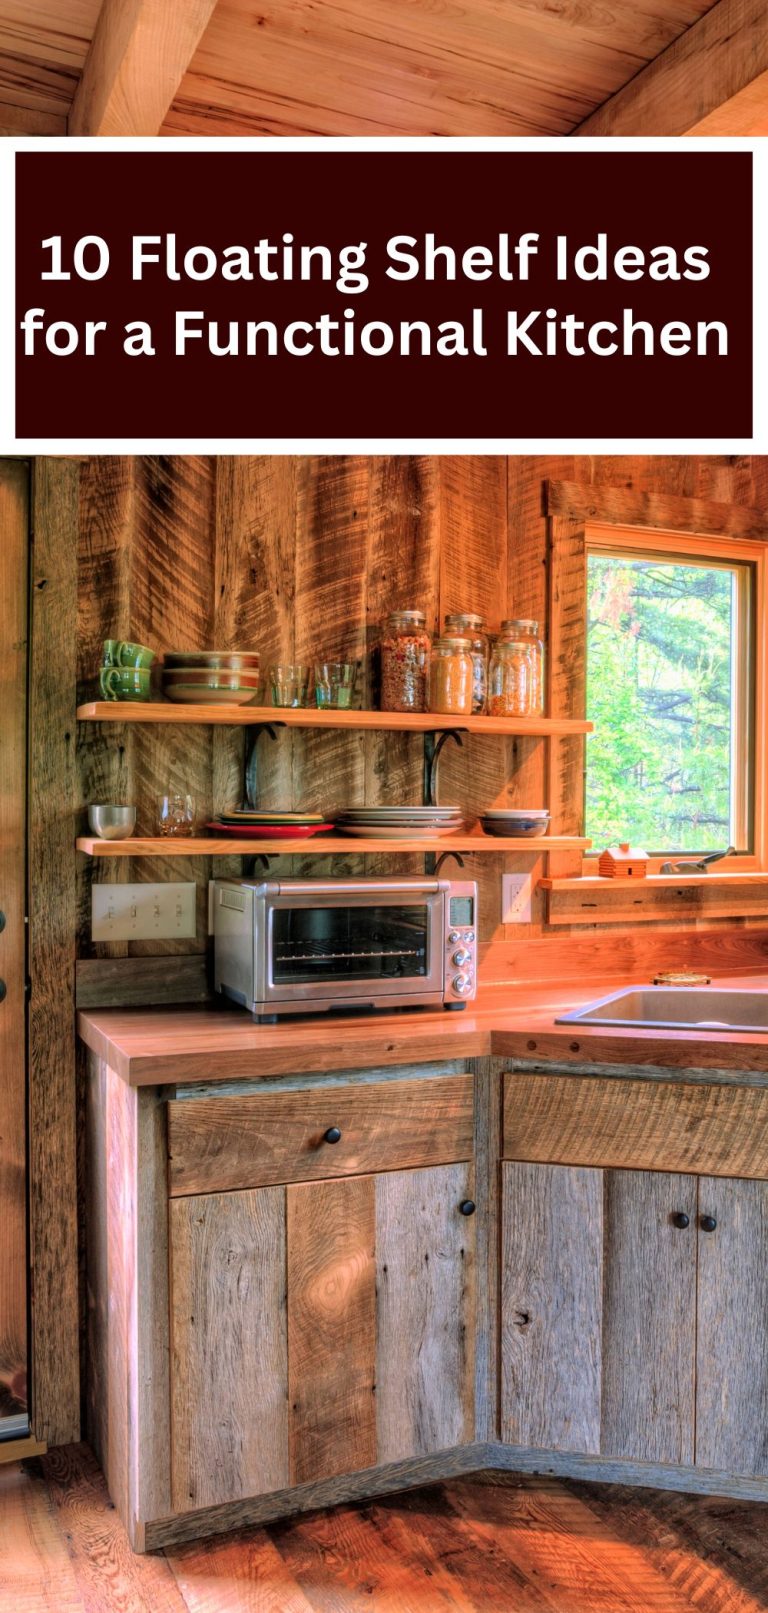
Floating Ledge Shelves: Minimalist Elegance
Create sleek floating ledge shelves for a modern, minimalist look. These simple shelves are perfect for small spaces, ideal for displaying books, framed photos, or small decor in a bedroom or office.
Materials:
- 1×6-inch pine boards (cut to desired length, e.g., 24-36 inches)
- L-brackets (2 per shelf)
- Sandpaper (120-grit)
- White paint or wood stain
- Screws, wall anchors, and screwdriver
Steps:
- Sand the boards to remove splinters.
- Apply paint or stain; let dry for 24 hours.
- Attach L-brackets to the underside of each board.
- Mark wall studs and install brackets with screws and anchors.
- Slide boards onto brackets and secure with screws.
Customization: Use live-edge wood for a natural, organic look.
Pro Tip: Use a level to ensure shelves are perfectly straight.
Budget Consideration: Opt for MDF instead of pine for a smoother, cheaper finish.
Skill Level: Beginner
Time: 1 day
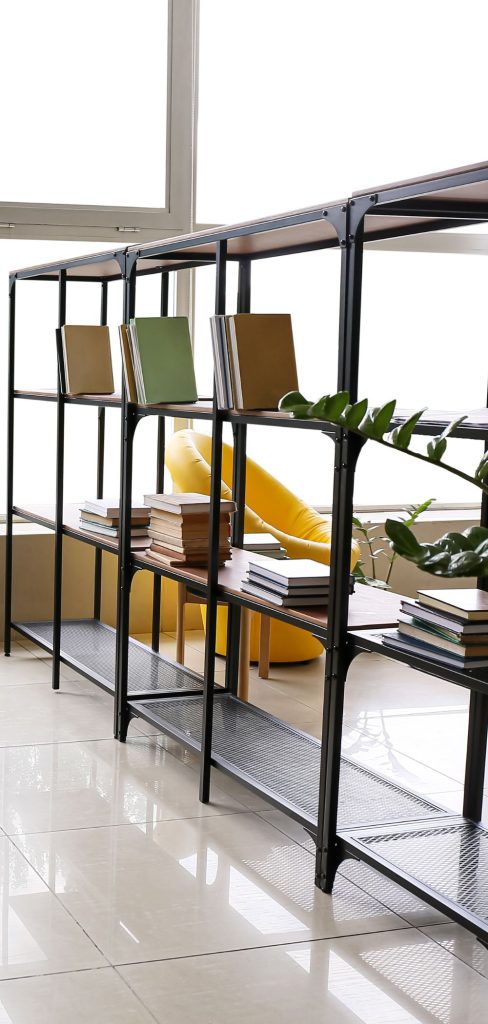
Industrial Pipe Bookshelf: Urban Edge
Build an industrial-style bookshelf using wooden planks and black metal pipes. This sturdy design is perfect for a loft or living room, showcasing books, vintage decor, or metallic accents.
Materials:
- 1×10-inch pine boards (4-5, cut to 36 inches)
- Black metal pipes and fittings (1/2-inch diameter)
- Sandpaper (120-grit)
- Wood stain (e.g., ebony)
- Screws and screwdriver
Steps:
- Sand the boards and apply stain; let dry for 24 hours.
- Assemble pipe frames for each shelf (two vertical supports and crossbars).
- Attach pipes to the wall using flanges and screws.
- Place boards on pipe frames and secure with screws.
- Check for stability and adjust as needed.
Customization: Paint pipes copper for a warmer, modern look.
Pro Tip: Pre-assemble pipes on the floor to ensure proper fit.
Budget Consideration: Use PVC pipes painted black instead of metal.
Skill Level: Intermediate
Time: 2-3 days
Ladder Bookshelf: Modern Rustic
Craft a leaning ladder bookshelf with wooden planks and dowels for a modern rustic aesthetic. This space-saving design is ideal for a hallway or small living room, perfect for books, lanterns, or plants.
Materials:
- 2×4-inch pine boards (2, cut to 60 inches for sides)
- 1×8-inch pine boards (4, cut to 24 inches for shelves)
- 1-inch wooden dowels (4, cut to 24 inches)
- Wood glue, screws, and screwdriver
- Sandpaper (120-grit) and stain
Steps:
- Sand all wood pieces to smooth surfaces.
- Stain or paint wood; let dry for 24 hours.
- Attach shelves to side boards with screws, spacing evenly.
- Secure dowels as front supports for each shelf with glue and screws.
- Lean against the wall and secure to studs for safety.
Customization: Paint the dowels a contrasting color for a bold look.
Pro Tip: Add a baseboard to prevent the ladder from slipping.
Budget Consideration: Use reclaimed wood for a cheaper, eco-friendly option.
Skill Level: Intermediate
Time: 2 days
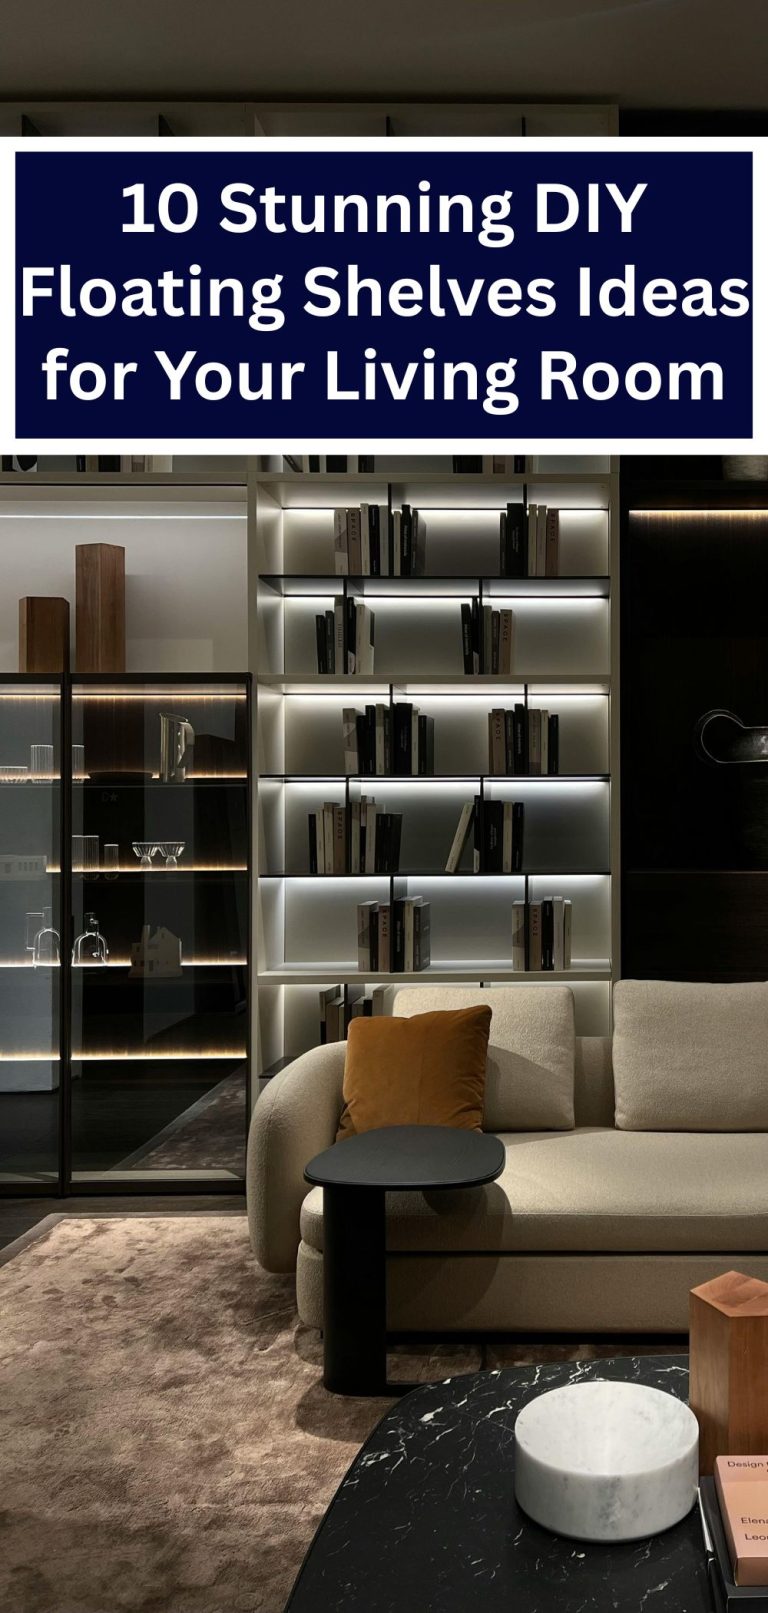
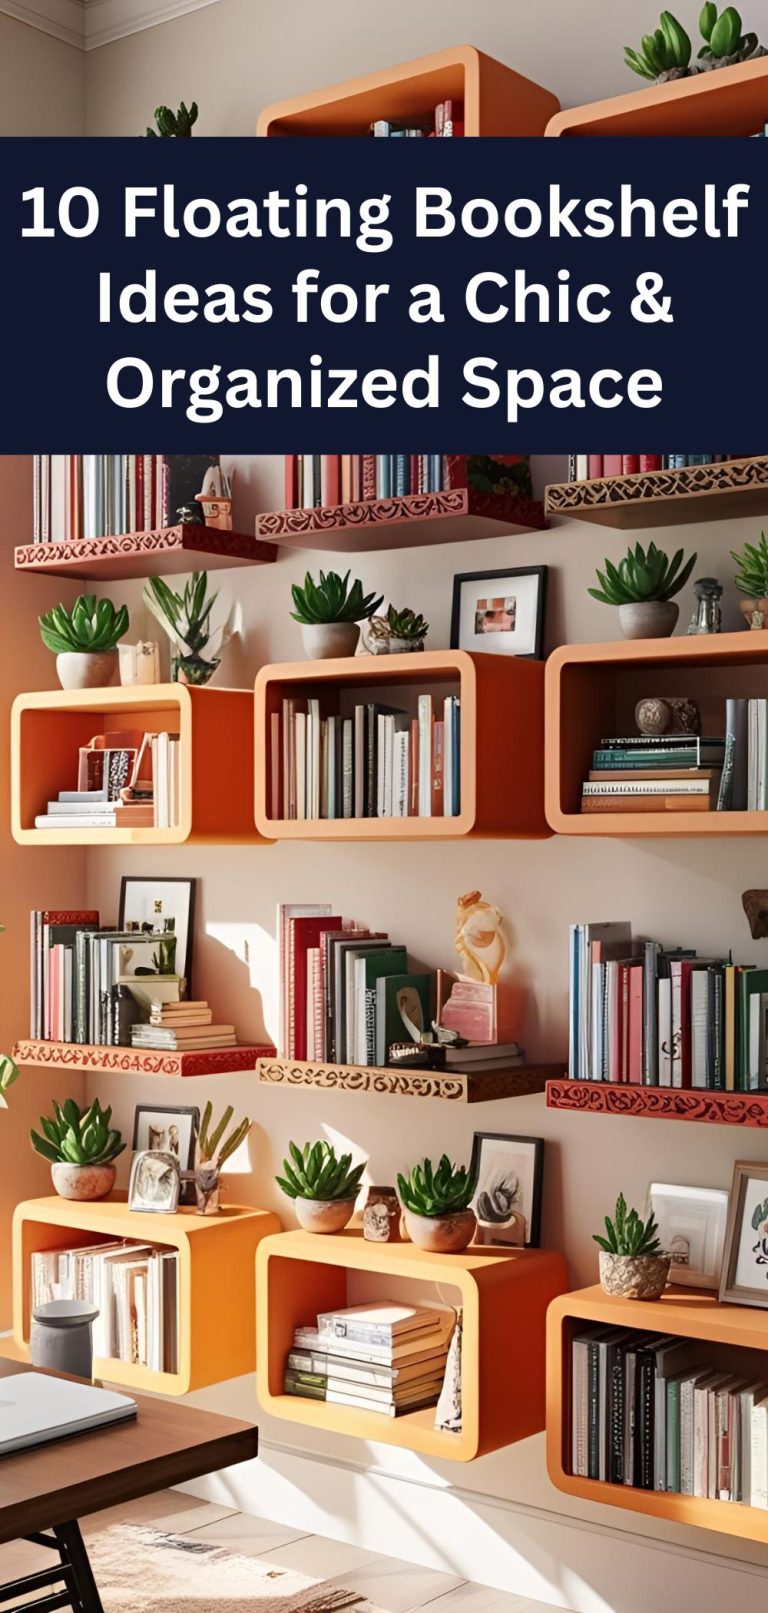
Hexagon Honeycomb Shelves: Geometric Art
Build hexagonal shelves arranged in a honeycomb pattern for a modern, artistic look. These wall-mounted shelves are perfect for a nursery or office, displaying books, succulents, or small decor.
Materials:
- 1×4-inch pine boards (cut into 6-inch lengths, 6 per hexagon)
- Wood glue and finishing nails
- Sandpaper (120-grit)
- Paint or stain (e.g., navy or walnut)
- Wall brackets and screws
Steps:
- Cut boards at 30-degree angles to form hexagon sides.
- Sand boards and apply paint or stain; let dry.
- Assemble hexagons using wood glue and nails; clamp until dry.
- Attach brackets to the back of each hexagon.
- Mount to the wall in a honeycomb pattern using screws.
Customization: Paint each hexagon a different color for a playful effect.
Pro Tip: Use a jig to ensure precise angle cuts for tight joints.
Budget Consideration: Use MDF instead of pine for a smoother, cheaper finish.
Skill Level: Intermediate
Time: 2-3 days
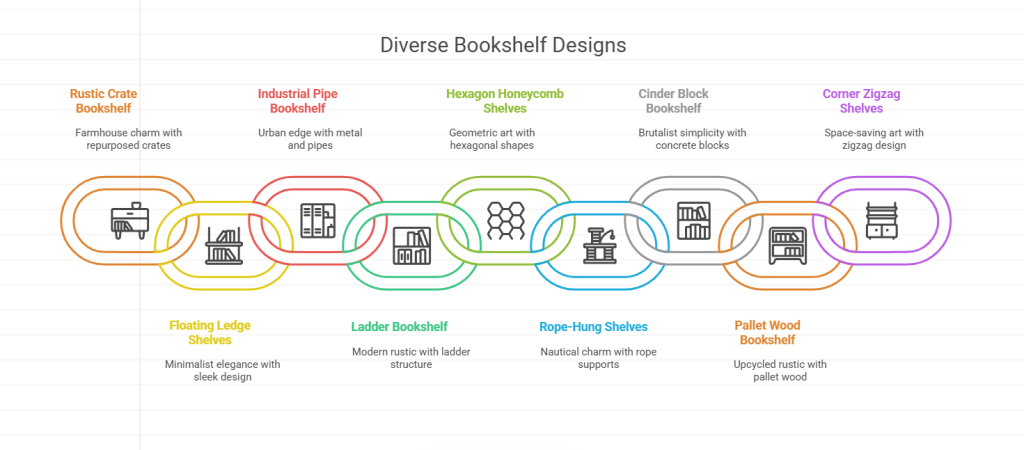
Rope-Hung Shelves: Nautical Charm
Create rope-hung floating shelves for a nautical, bohemian vibe. These shelves, suspended with thick rope, are ideal for a coastal living room or bathroom, displaying books, shells, or candles.
Materials:
- 1×8-inch pine boards (2-3, cut to 24 inches)
- Thick jute rope (1/2-inch diameter, 8-10 feet)
- Sandpaper (120-grit)
- Wood stain or paint
- Wall hooks, screws, and drill
Steps:
- Sand boards and apply stain or paint; let dry for 24 hours.
- Drill two holes at each end of the boards for rope.
- Install wall hooks into studs above the desired shelf height.
- Thread rope through holes, knotting securely under each board.
- Hang shelves from hooks, adjusting for level.
Customization: Use colorful rope for a vibrant, eclectic look.
Pro Tip: Double-knot the rope for extra security.
Budget Consideration: Use reclaimed wood or pallet boards for a cheaper option.
Skill Level: Beginner
Time: 1 day
Cinder Block Bookshelf: Brutalist Simplicity
Combine cinder blocks and wooden planks for a bold, brutalist-style bookshelf. This sturdy, budget-friendly design is perfect for a dorm room or eclectic living space, ideal for books, plants, or art.
Materials:
- 6-8 cinder blocks
- 1×12-inch pine boards (3, cut to 36 inches)
- Sandpaper (120-grit)
- Paint for blocks (optional, e.g., black or white)
- Wood stain for boards
Steps:
- Sand boards and apply stain; let dry for 24 hours.
- Paint cinder blocks if desired; let dry.
- Stack cinder blocks in a staggered pattern (two blocks per level).
- Place boards on top of blocks to form shelves.
- Check for stability and adjust as needed.
Customization: Paint blocks in metallic tones for a modern twist.
Pro Tip: Use adhesive to secure blocks for added stability.
Budget Consideration: Source used cinder blocks from construction sites.
Skill Level: Beginner
Time: 1 day
Pallet Wood Bookshelf: Upcycled Rustic
Turn a wooden pallet into a rustic bookshelf with minimal effort. This upcycled design is perfect for a cozy bedroom or porch, displaying books, mason jars, or small decor.
Materials:
- 1 wooden pallet (standard size, 48×40 inches)
- Sandpaper (80- and 120-grit)
- Wood stain or paint
- Screws and screwdriver
- Optional: L-brackets for wall mounting
Steps:
- Sand the pallet thoroughly to remove splinters.
- Apply stain or paint; let dry for 24 hours.
- Reinforce the pallet with screws if needed for stability.
- Lean against the wall or mount with L-brackets.
- Arrange decor on the pallet’s slats.
Customization: Add small shelves between slats for extra storage.
Pro Tip: Check pallets for “HT” (heat-treated) stamps to ensure safety.
Budget Consideration: Source free pallets from local warehouses.
Skill Level: Beginner
Time: 1-2 days
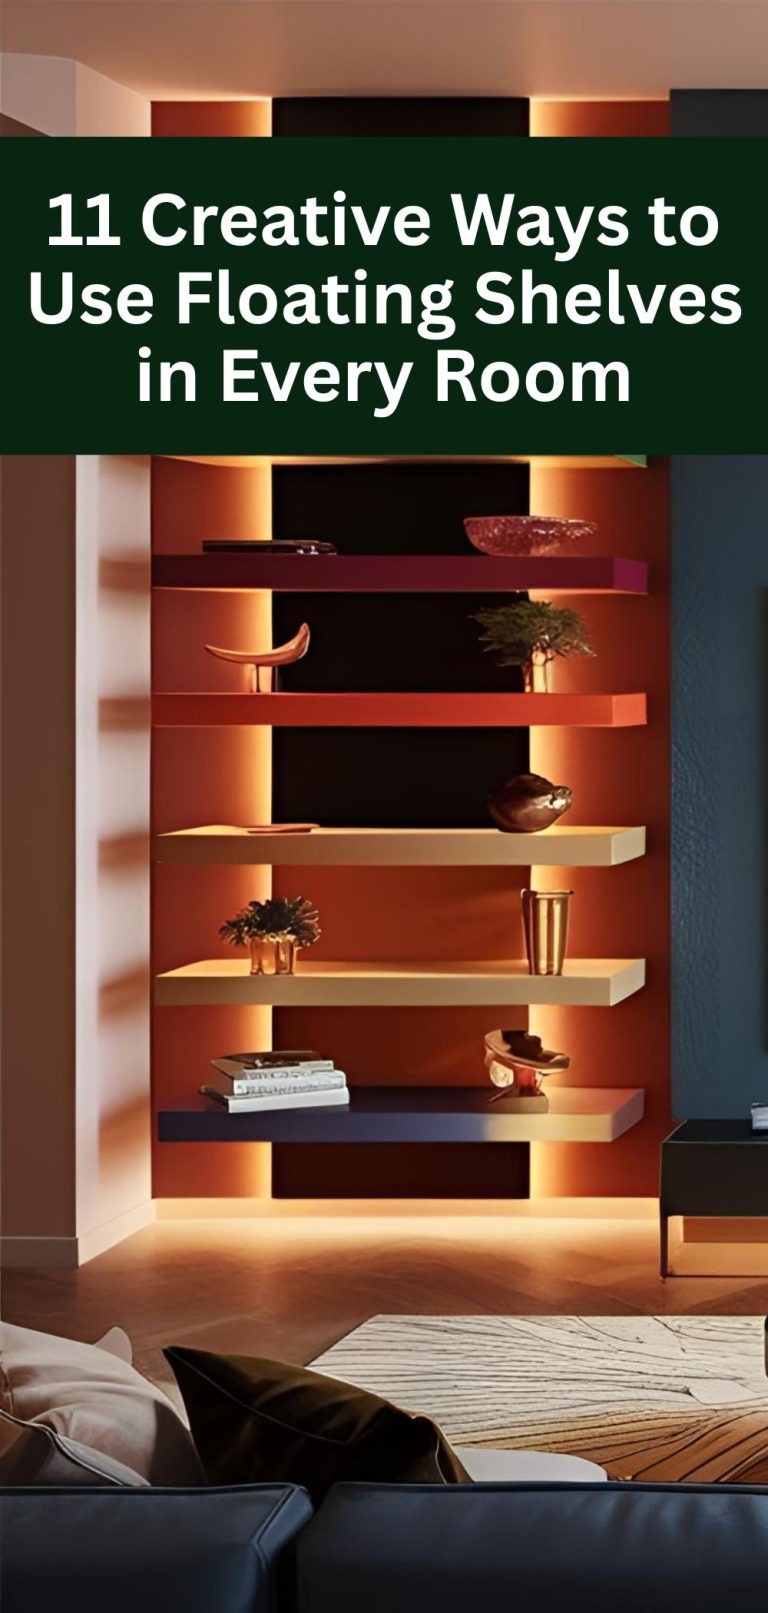
Corner Zigzag Shelves: Space-Saving Art
Build zigzag shelves for a corner to maximize space with a modern, artistic look. These floating shelves are perfect for a small apartment or reading nook, displaying books, photos, or small plants.
Materials:
- 1×6-inch pine boards (cut to 12-18 inches for each shelf)
- L-brackets (2 per shelf)
- Sandpaper (120-grit)
- Paint or stain (e.g., white or oak)
- Screws, wall anchors, and screwdriver
Steps:
- Sand boards and apply paint or stain; let dry.
- Attach L-brackets to the underside of each board.
- Mark corner studs and install brackets in a zigzag pattern.
- Secure boards to brackets with screws.
- Check for level and adjust as needed.
Customization: Paint shelves in a gradient for a bold, artistic effect.
Pro Tip: Use a stud finder to ensure secure mounting in corners.
Budget Consideration: Use MDF instead of pine for a cheaper, smoother finish.
Skill Level: Beginner
Time: 1-2 days
Conclusion
DIY bookshelves are a fantastic way to personalize your space while adding stylish storage for your books and decor. From rustic crates to modern zigzag shelves, these 9 projects offer something for every skill level and aesthetic. With simple materials and a bit of creativity, you can build a bookshelf that’s both functional and a reflection of your unique style.
Grab your tools and start building—your home deserves a custom bookshelf that’s as stylish as it is practical!