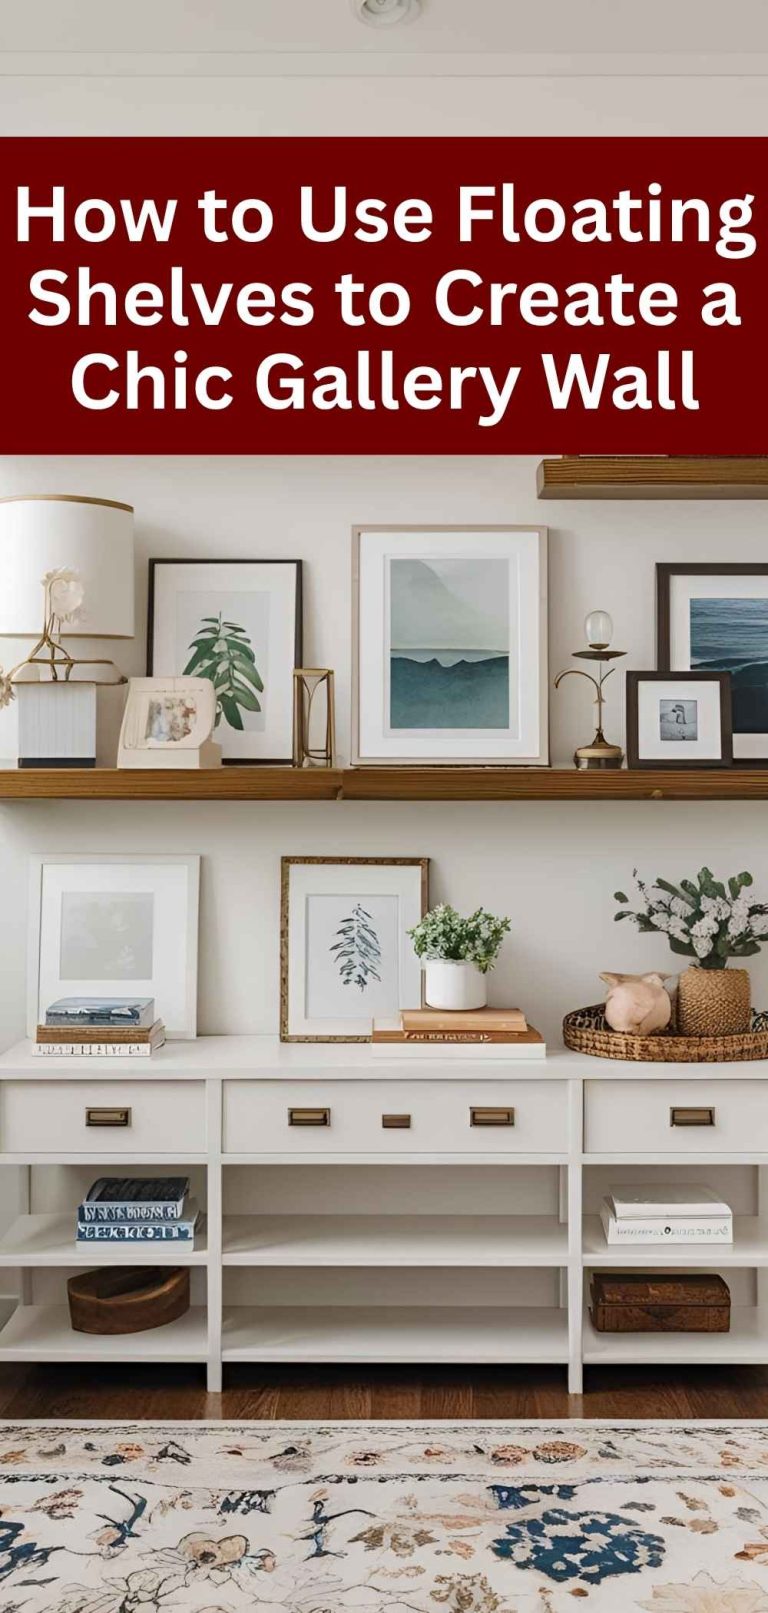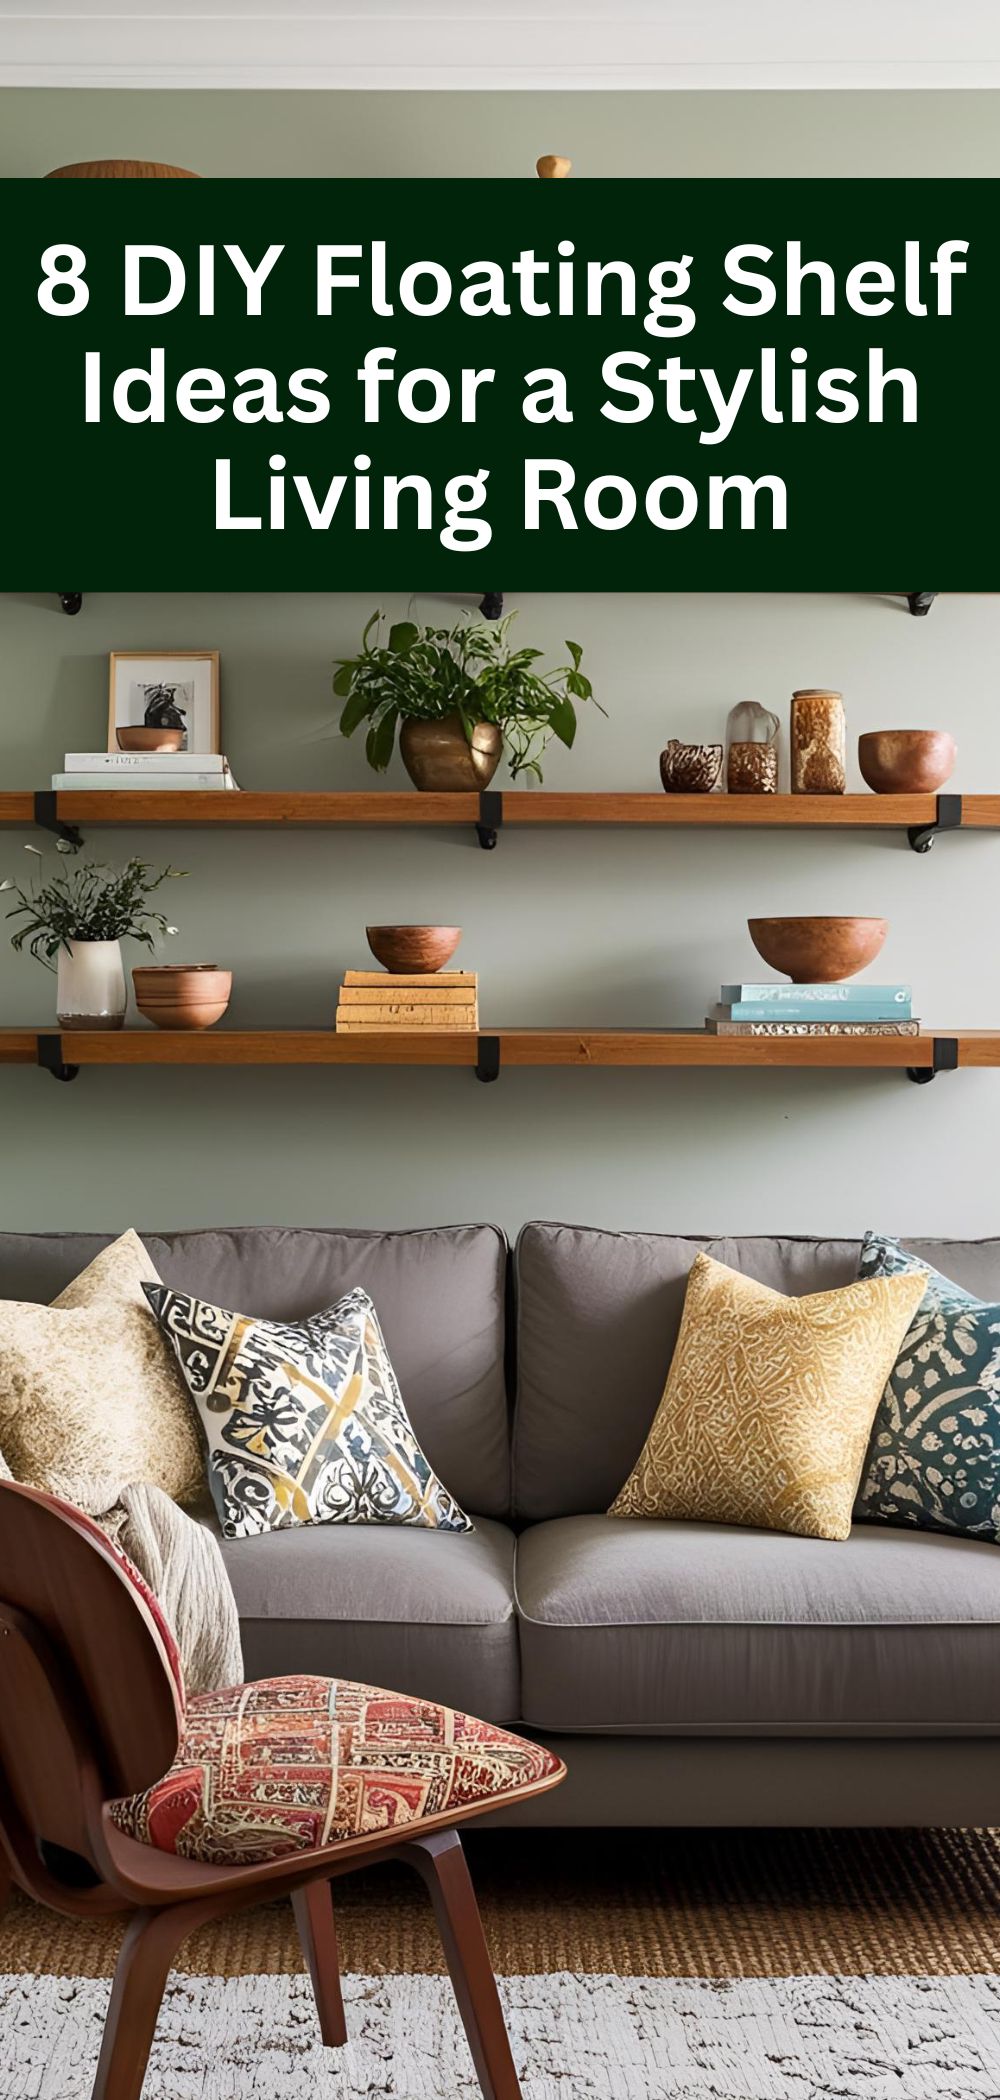
8 DIY Floating Shelf Ideas for a Stylish Living Room
Floating shelves add style and function to living rooms. They offer a sleek look and save space.
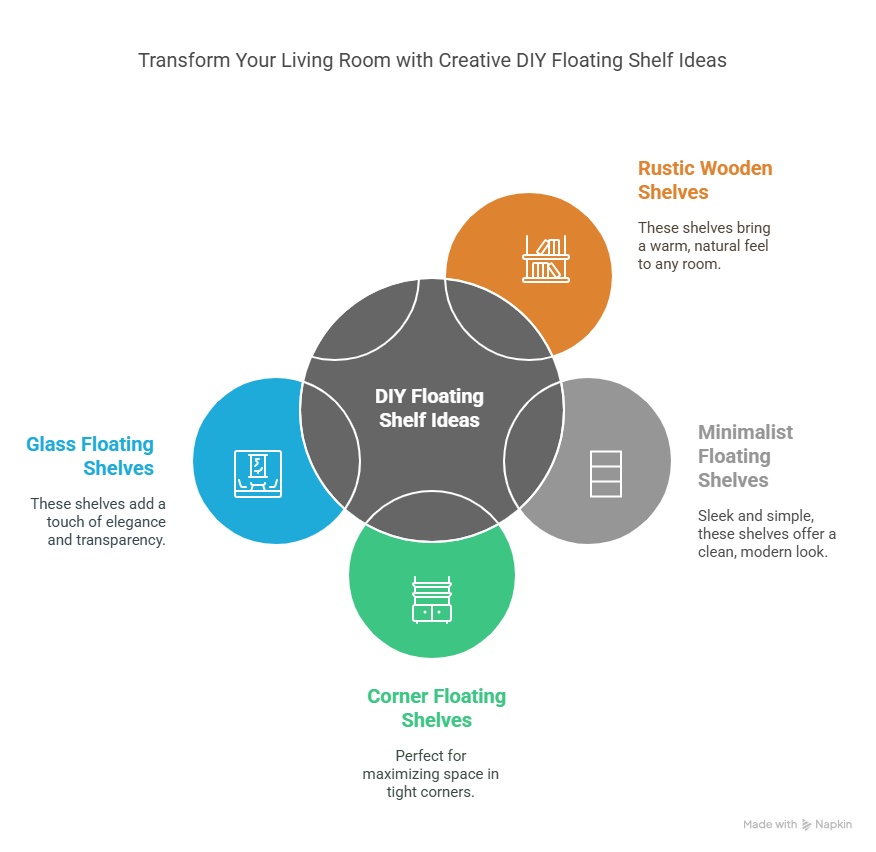
Are you ready to transform your living room with creative DIY projects? Discover how floating shelves can elevate your space, blending beauty and utility effortlessly. Whether you prefer modern minimalism or rustic charm, these ideas will inspire you to design shelves that match your taste.
Perfect for showcasing decor or organizing books, they bring a fresh vibe to any home. Dive into this guide and explore how simple materials and easy techniques can make a difference. Let your creativity flow, and turn your living room into a stylish haven. Get ready to craft and enjoy a unique, inviting space.
Credit: www.loveandrenovations.com
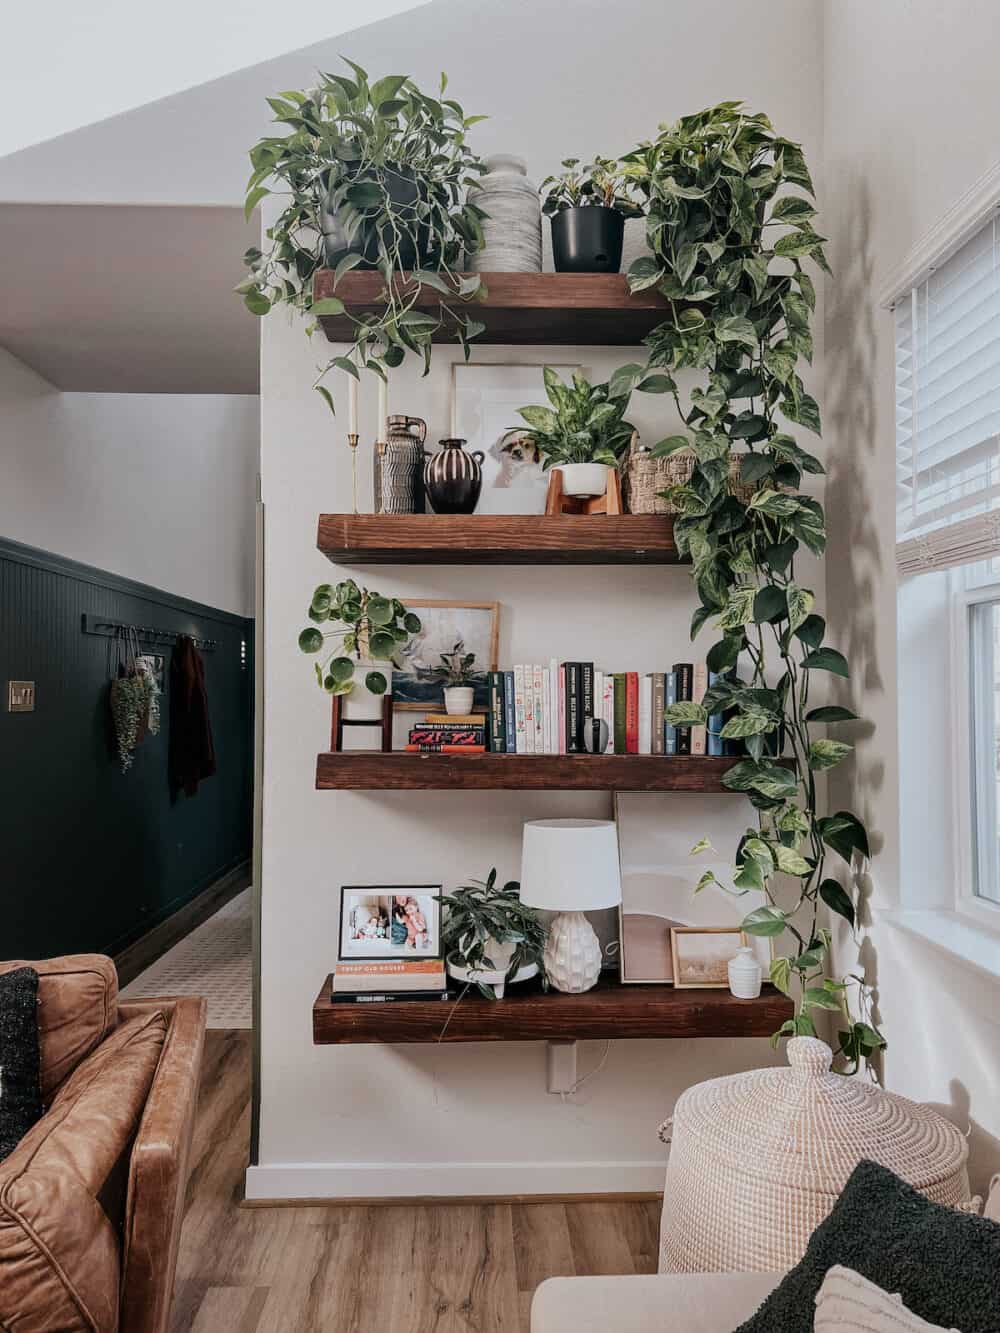
Rustic Wooden Shelves
Pick wood that matches your room’s style. Pine is light and affordable. Oak is strong and lasts long. Cherry has a rich color. The wood you choose will affect the look. Reclaimed wood adds charm. New wood looks clean.
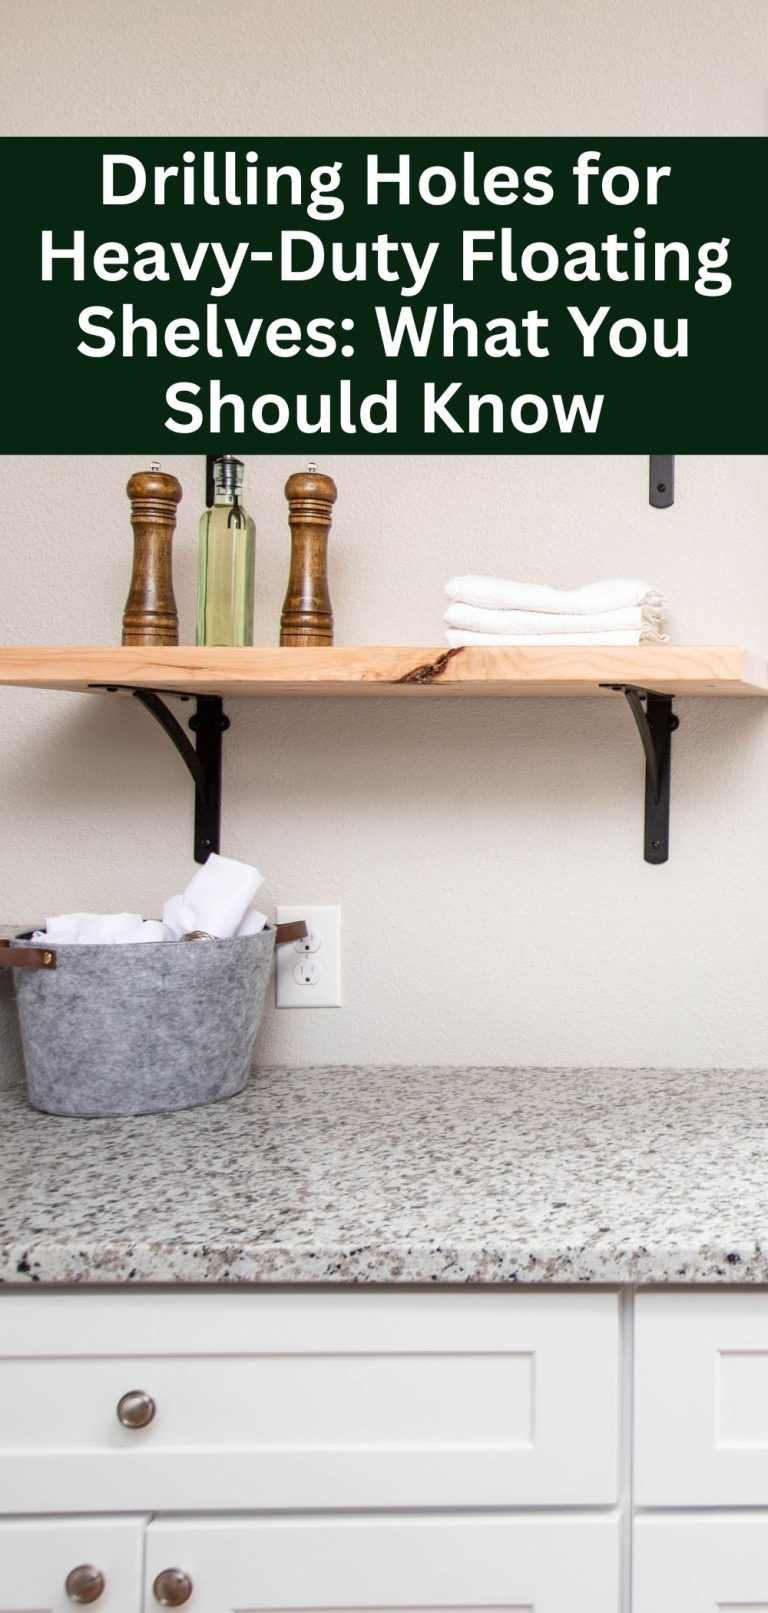
Measure your wall space first. Use a level for straight shelves. Drill holes where you want screws. Anchor the shelves to studs for safety. Use brackets for extra support. Paint or stain your wood before mounting. Follow these steps for secure, stylish shelves.
Minimalist Floating Shelves
- Wooden boards
- Wall brackets
- Screws
- Drill
- Level
- Measuring tape
- Sandpaper
- Paint or stain
First, measure the wall space. Cut the wooden boards to size. Sand the edges smooth. Next, paint or stain the wood. Let it dry fully. Use the level to mark bracket positions on the wall. Drill holes for the brackets. Attach brackets using screws. Place the wooden board on the brackets. Make sure it is level. Secure the board to the brackets. Your shelf is ready!
Corner Floating Shelves
Corner floating shelves make the most of unused space. They are perfect for small rooms. You can display books, plants, or decor items. Maximize vertical space by stacking shelves. This keeps your floor area clear. A tidy room looks bigger. Use shelves of different lengths for variety. Your corner will look more interesting.
There are many design options for corner shelves. L-shaped shelves fit snugly into the corner. Triangular shelves add a unique touch. Choose shelves in natural wood for a warm look. Painted shelves can match your room’s color scheme. Mix and match styles for a modern feel. Floating shelves can be both functional and stylish.
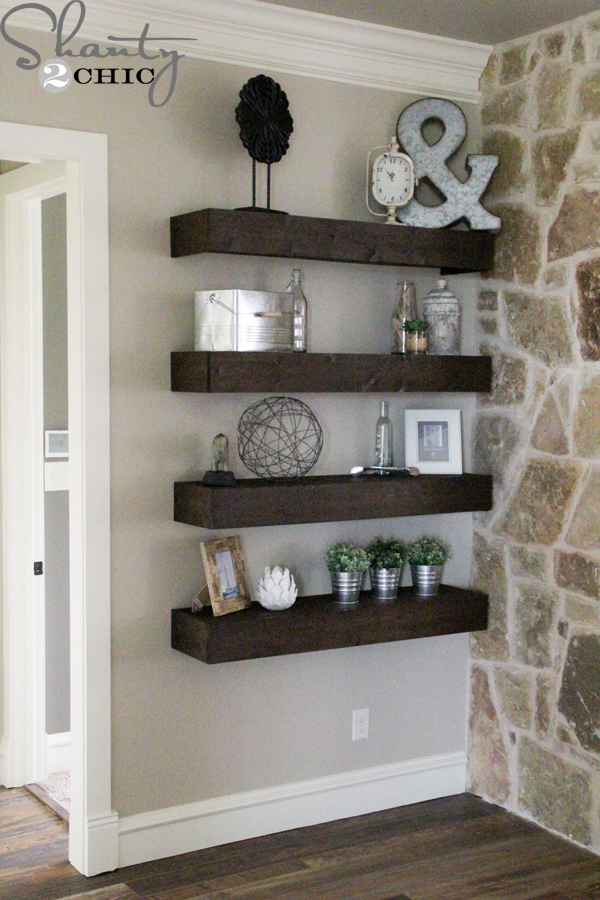
Credit: www.shanty-2-chic.com
Glass Floating Shelves
Glass floating shelves offer a sleek and modern touch to any living room. Discover 8 DIY ideas to enhance your space stylishly. Create a unique look with these versatile shelf designs.
Pros And Cons
Glass floating shelves look very modern. They give a clean look. They are easy to clean. You can see through them. They make rooms look bigger. They work well in small spaces. But they can break easily. They need careful handling. Heavy items can crack them. They show fingerprints and dust.
Safety Measures
Use brackets for support. Do not overload shelves. Avoid sharp items on glass. Keep shelves out of reach of small children. Check for cracks often. Replace broken shelves right away. Use safety glass when possible. Wear gloves when installing. Be gentle with glass. Clean with soft cloth.
Invisible Bracket Shelves
First, gather your tools. You will need a drill, screws, and a level. Also, a stud finder and a measuring tape are helpful. Make sure you have brackets and a shelf too.
Begin by finding the studs in your wall. Mark the spots with a pencil. Next, measure and mark where you want the shelf. Use the level to ensure it is straight.
Drill holes at the marked spots. Attach the brackets using screws. Once brackets are secure, place the shelf on them. Check with the level again.
Finally, tighten the screws. Ensure the shelf is stable. Enjoy your new invisible bracket shelf.
:max_bytes(150000):strip_icc()/AnnGottlieb-AngelaNewtonRoyPhotography1-96c133e2b3f5474e92d34fd48d15890a-e2db129fd2f44c0fa673337333bcd1cd.jpg)
Credit: www.southernliving.com
Geometric Pattern Shelves
Geometric pattern shelves add a modern touch to your living room. Use shapes like triangles, hexagons, or diamonds. Mix different shapes for a unique look. Arrange them in a fun way on the wall. This creates an eye-catching design. Floating shelves can hold small items or decor pieces.
Choose bold colors for your geometric shelves. Bright colors make a strong statement. Use contrasting colors for more impact. Match the shelf colors with your room decor. You can also paint each shape a different color. This adds more interest and variety. Experiment with colors to find the best look.
Industrial Pipe Shelves
You will need the following items: wooden boards, industrial pipes, flanges, screws, anchors, and a drill. Make sure to choose sturdy wood for the shelves. Select pipes and flanges that fit well together. The screws and anchors should hold the weight of the shelf.
Attach the flanges to the wall using screws and anchors. Connect the pipes to the flanges. Place the wooden board on top of the pipes. Ensure the shelf is level. Tighten all connections. Check stability by gently pressing on the shelf.
Upcycled Floating Shelves
Upcycled floating shelves use old wood or recycled materials. These shelves help the planet. They also look unique. Recycled materials add charm. They save money too. Using eco-friendly materials is smart. It’s also stylish.
Upcycled shelves offer unique designs. Each shelf is different. Old wood has character. Recycled materials can be interesting. Unique designs make your living room special. They can be simple or complex. You choose the design.
Conclusion
Transform your living room with these DIY floating shelf ideas. They add style and function. Each idea is easy to follow. Create a unique space. Impress your guests. Enjoy your new stylish living room. Get started today. You’ll love the result.