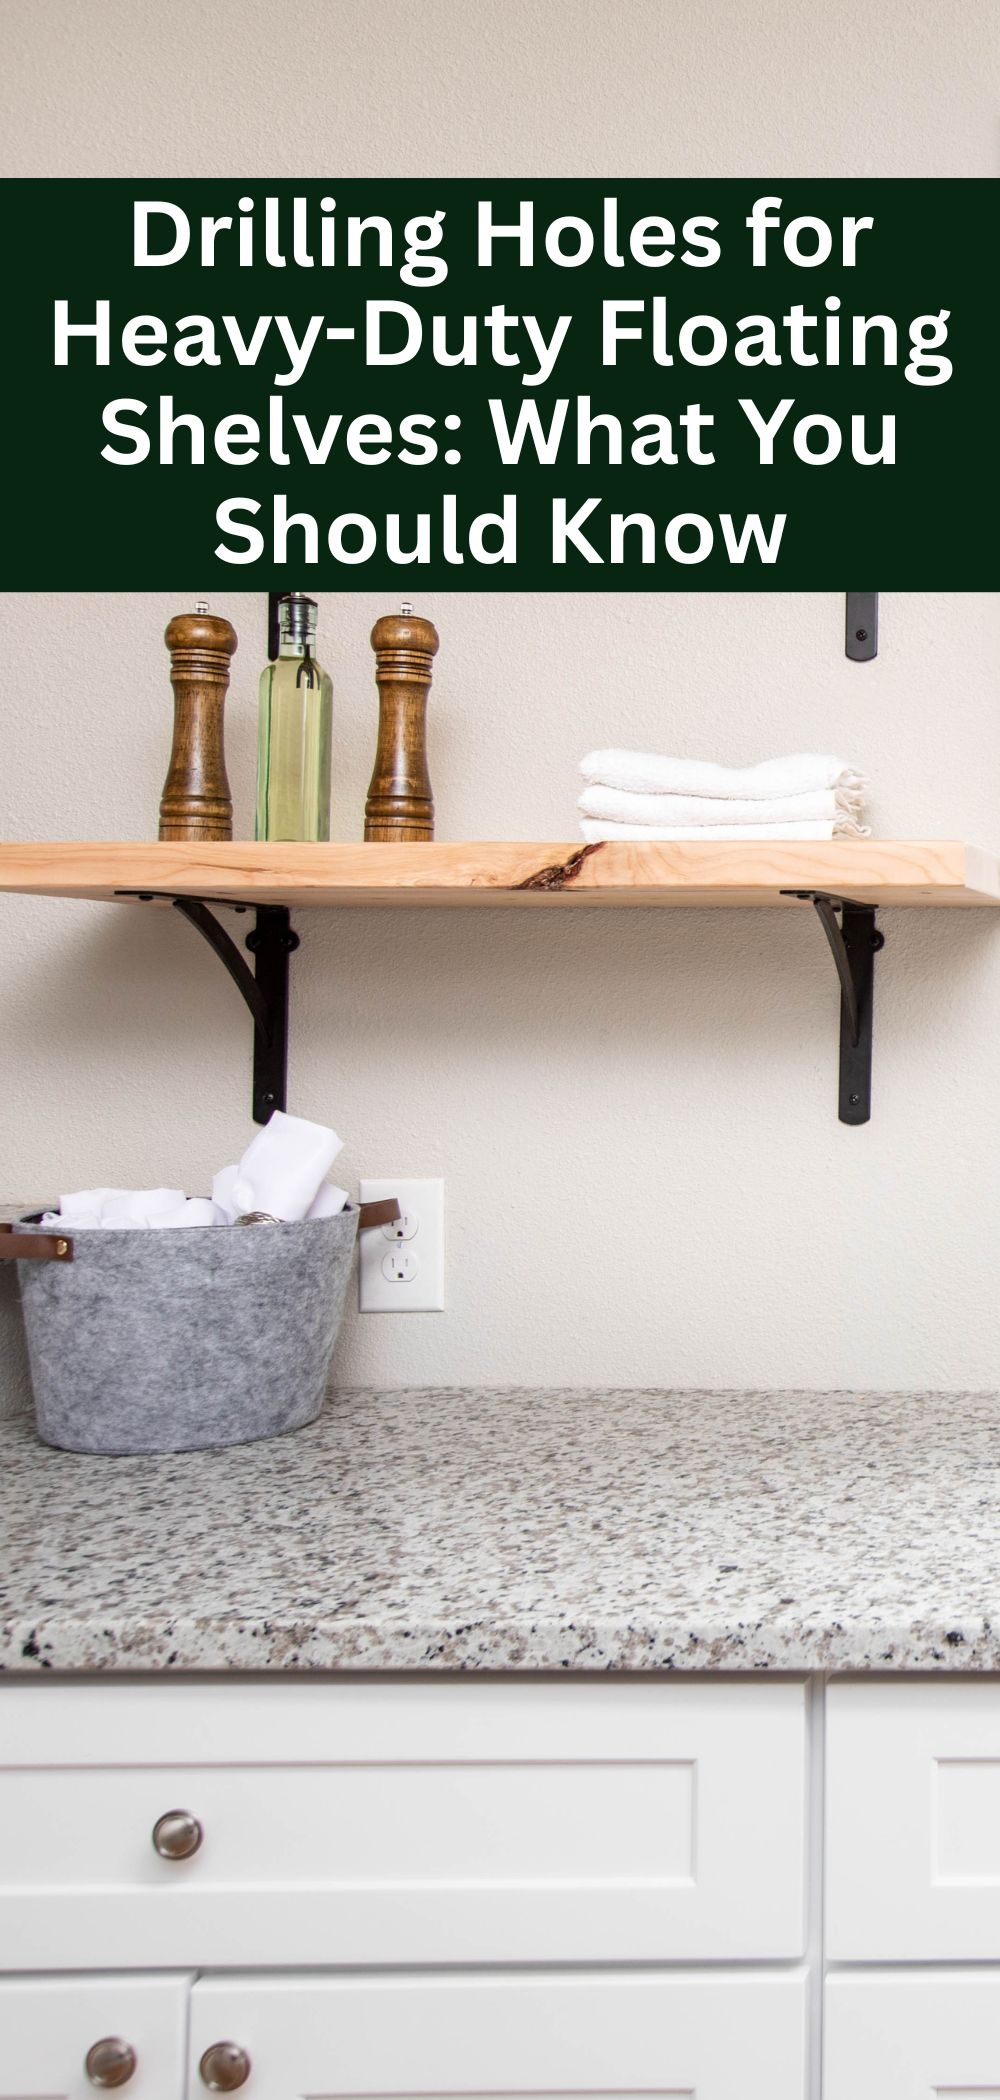
Drilling Holes for Heavy-Duty Floating Shelves: What You Should Know
Heavy-duty floating shelves are a stylish and robust solution for displaying books, decor, or kitchen essentials, but their weight demands precise drilling to ensure a secure, long-lasting shelf display. Drilling into walls—whether drywall, brick, or tile—requires the right tools, techniques, and anchors to support substantial loads without compromising your walls. For renters or homeowners, understanding how to drill properly is key to a professional, damage-resistant DIY wall decor setup. Below, we share 10 essential tips for drilling holes for heavy-duty floating shelves, ensuring stability and a polished, modern look.
1. Select a Heavy-Duty Drill and Masonry Bits
Drilling for heavy-duty floating shelves requires a powerful hammer drill and masonry drill bits with carbide or diamond tips, especially for brick or tile walls. These tools are designed to handle hard surfaces and create clean, deep holes for anchors supporting shelves that hold 50–100 pounds or more. For drywall, a standard cordless drill (18V or higher) works, but ensure the bit size matches your anchor (typically 5/16 to 1/2 inch).
Before starting, test the drill on a scrap piece of similar material to gauge resistance and adjust speed. A hammer drill is essential for brick or concrete, while a rotary setting suffices for drywall or tile to avoid cracking. Wearing safety glasses protects against dust and debris, ensuring a safe shelf display installation. Choosing the right drill and bits sets the stage for a sturdy, professional DIY wall decor project.
For heavy shelves, invest in quality bits from brands like DeWalt or Bosch to prevent dulling. This preparation ensures your holes are precise, reducing the risk of wall damage and supporting your floating shelves securely for heavy loads like books or electronics.
2. Locate Studs or Solid Substrate for Maximum Strength
For heavy-duty floating shelves, anchoring into wall studs (for drywall) or a solid substrate (for brick or tile) is critical to support weights of 50 pounds or more. Use a stud finder to locate wooden or metal studs in drywall, typically 16 inches apart, and mark their centers for drilling. In brick or tile, aim for the brick itself or the wall’s backing material, avoiding weaker mortar or grout lines.
If studs aren’t available, use heavy-duty toggle bolts or masonry anchors rated for your shelf’s weight. For tile, ensure the drill penetrates the tile and into the drywall or concrete behind for a firm hold. This step is crucial for a stable shelf display, preventing sagging or pull-out under heavy loads like kitchen appliances or large decor.
Use a tape measure to confirm stud spacing and mark drilling spots precisely. Locating a solid foundation ensures your floating shelves remain secure, creating a reliable and stylish DIY wall decor setup that handles substantial weight.
3. Mark Holes Accurately with a Level and Template
Precise hole placement is vital for heavy-duty floating shelves to ensure a level, balanced shelf display. Use a bubble level and a pencil to mark where brackets or anchors will go, aligning with studs or solid substrate at 57–60 inches from the floor for eye-level appeal. Many heavy-duty shelves come with a mounting template—use it to mark holes accurately, ensuring brackets align perfectly.
For tile, apply painter’s tape over marks to prevent drill slippage and reduce cracking risk. On brick, mark directly on the brick for stability. Double-check measurements with a tape measure, especially for wide shelves requiring multiple brackets. This precision creates a professional DIY wall decor look, ideal for living rooms or kitchens with heavy decor like vases or cookware.
Verify marks align with the shelf’s mounting hardware, accounting for its thickness. Accurate marking prevents uneven shelves, ensuring your floating shelves support heavy loads while maintaining a sleek, modern aesthetic.
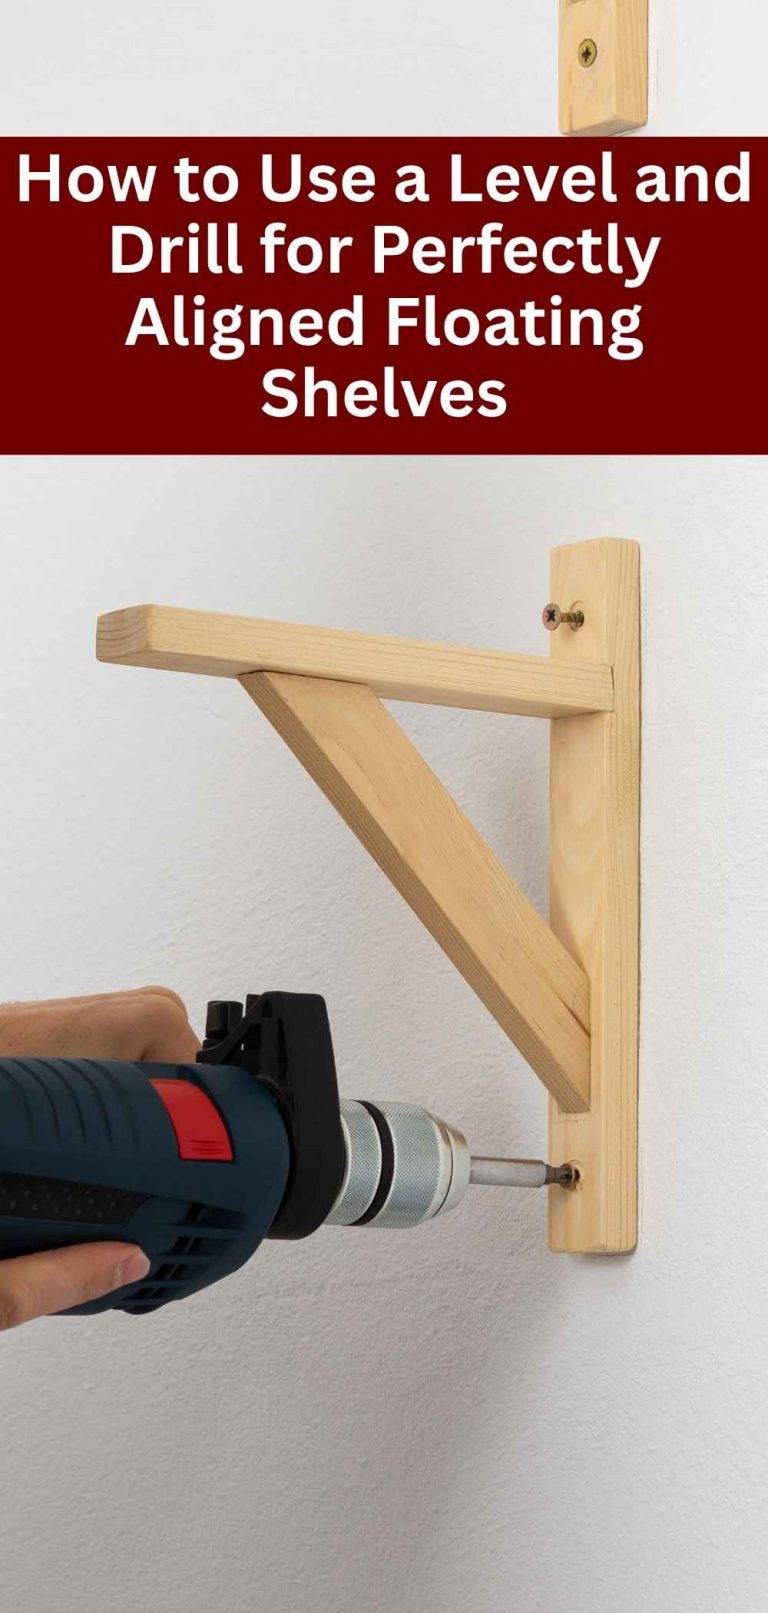
4. Drill Pilot Holes to Guide Larger Bits
Starting with a pilot hole is essential when drilling for heavy-duty floating shelves to prevent wall damage and ensure precise anchor placement. Use a smaller masonry bit (e.g., 1/8 inch) to drill a shallow pilot hole at each marked spot, applying light pressure to avoid cracking tile or brick. This guides the larger bit (e.g., 5/16 or 3/8 inch) needed for heavy-duty anchors, reducing drill wander.
For drywall, a standard bit works for pilot holes into studs, while tile or brick requires a masonry bit on a low-speed setting (300–600 RPM). Keep the drill perpendicular to the wall for straight holes, critical for secure anchor installation. Pilot holes make drilling easier and cleaner, ensuring your shelf display is stable and professional.
After drilling pilot holes, switch to the correct bit size for your anchors and drill to the required depth (usually 1.5–2 inches). This controlled approach supports floating shelves for heavy loads, enhancing your DIY wall decor without compromising wall integrity.
5. Choose Heavy-Duty Anchors for Secure Mounting
Selecting the right wall anchors is critical for heavy-duty floating shelves, which may support 50–100 pounds or more. For drywall with studs, use lag screws directly into the stud for maximum strength. Without studs, opt for toggle bolts (rated for 70+ pounds) or heavy-duty drywall anchors like E-Z Ancor (up to 75 pounds). For brick or tile, use sleeve anchors or expansion anchors designed for masonry.
Insert anchors carefully, tapping gently with a hammer if needed, ensuring they sit flush with the wall. For tile, confirm anchors extend into the substrate (drywall or concrete) for a firm hold. This ensures your shelf display can handle heavy items like bookshelves or kitchen equipment without pulling out, perfect for a durable DIY wall decor setup.
Match anchors to your shelf’s weight and bracket type, checking manufacturer ratings. Proper anchors are the backbone of a secure floating shelf installation, providing peace of mind for heavy-duty applications.
6. Drill at Low Speed with Steady Pressure
Drilling at high speed can crack brick or tile or overheat your masonry bit, compromising your heavy-duty floating shelf installation. Set your drill to a low speed (300–600 RPM) and apply steady, light pressure to create clean, precise holes. For tile, pause periodically to cool the bit, preventing cracks in delicate surfaces like ceramic or porcelain.
In drywall, use a standard bit for studs or a low-speed setting for toggle bolt holes to avoid tearing the paper surface. For brick, low speed ensures the bit cuts through without excessive vibration, maintaining hole integrity. This technique is crucial for a stable shelf display, supporting heavy loads like decor or electronics without wall damage.
Keep the drill perpendicular to the wall, using a guide or tape to maintain alignment. Controlled drilling ensures your floating shelves are securely mounted, creating a professional DIY wall decor look that’s built to last.
7. Clear Dust with a Vacuum for a Clean Workspace
Drilling into brick, tile, or drywall produces dust that can clog holes or damage nearby surfaces, affecting your heavy-duty floating shelf installation. Use a vacuum with a hose attachment to suck up dust as you drill, holding the nozzle near the hole. Alternatively, place a dustpan or cloth below to catch debris, keeping your brick or tile walls clean and protecting your workspace.
For tile, wipe away residual dust with a damp cloth to prevent scratching glossy finishes. In brick, vacuuming keeps mortar joints clear, maintaining the wall’s appearance. A clean workspace ensures smooth anchor insertion and a polished shelf display, especially in visible areas like kitchens or living rooms.
Regular dust removal also prevents debris from interfering with screws or brackets. This step enhances the professionalism of your DIY wall decor, ensuring your floating shelves installation looks seamless and intentional.
8. Secure Brackets with Heavy-Duty Screws
Once holes are drilled and anchors inserted, use heavy-duty screws (e.g., 2–3 inches long) matched to your anchors to secure floating shelf brackets. For studs in drywall, lag screws provide the strongest hold, while toggle bolts or sleeve anchors work for brick or tile. Use a screwdriver or drill with low torque to avoid stripping anchors or cracking tile.
Ensure screws are driven flush with the bracket, checking alignment with a bubble level before fully tightening. For tile, screws must penetrate into the substrate for stability, while in brick, they should grip the anchor tightly. This ensures your shelf display supports heavy loads like books or appliances without sagging, creating a robust DIY wall decor setup.
Test each bracket for firmness before mounting the shelf, tightening as needed. Properly secured brackets are essential for heavy-duty floating shelves, ensuring safety and a modern, professional look.
9. Test Shelf Load Capacity Gradually
Before loading your heavy-duty floating shelves with decor, test their stability to confirm a secure installation. After mounting, apply gentle pressure to the shelf, checking for movement or loose anchors. If any wobble occurs, re-tighten screws or add additional anchors, especially for shelves holding 50+ pounds in high-traffic areas like kitchens or offices.
Start with lightweight items, like small frames or plants, and gradually add heavier objects, such as books or electronics, monitoring for shifts. Ensure the total weight stays within the anchors’ and shelf’s rated capacity. This cautious approach prevents wall damage and ensures a safe shelf display for your DIY wall decor.
For extra security, consider reinforcing with an additional bracket for very heavy loads. Testing load capacity protects your floating shelves and walls, maintaining a sturdy, modern aesthetic for years.
10. Patch Holes Properly for Future Removal
If you plan to remove or reposition your heavy-duty floating shelves, knowing how to patch drilled holes is crucial, especially for renters. For drywall, fill holes with spackling paste, smooth with a putty knife, and sand lightly after drying. For brick, use masonry caulk or a color-matched patching compound; for tile, use grout or caulk matching the existing finish.
Apply patching material carefully, following drying instructions, and wipe excess with a damp cloth to avoid visible patches. On tile, avoid overfilling to maintain a seamless look, especially on glossy surfaces. This ensures your brick, tile, or drywall walls return to their original state, protecting your security deposit or home’s integrity.
Document the patching process for landlord verification, if needed. Clean patching enhances the flexibility of your DIY wall decor, allowing you to reconfigure your shelf display without lasting damage.
Frequently Asked Questions (FAQs)
What drill is best for heavy-duty floating shelves?
A hammer drill with masonry bits (carbide or diamond-tipped) is ideal for brick or tile, while a cordless drill (18V+) works for drywall. These ensure precise holes for a secure shelf display.
How do I find studs for heavy-duty shelves?
Use a stud finder to locate wooden or metal studs in drywall, typically 16 inches apart. For brick or tile, drill into the solid material, not mortar, for a stable floating shelf hold.
What anchors should I use for heavy shelves?
Toggle bolts (70+ lbs) or heavy-duty drywall anchors work for drywall without studs; sleeve anchors or expansion anchors suit brick or tile. Match to your shelf display weight.
How do I avoid cracking tile when drilling?
Apply painter’s tape, use a masonry bit, and drill at low speed (300–600 RPM) with light pressure. Start with a pilot hole to prevent cracking for your DIY wall decor.
Can I patch holes in brick or tile after removing shelves?
Yes, use masonry caulk for brick or color-matched grout/caulk for tile. Smooth carefully to restore brick or tile walls, ensuring a damage-free floating shelf removal.
How do I ensure heavy-duty shelves are level?
informatics
level and aligned. This precision creates a professional DIY wall decor look, ensuring your heavy-duty floating shelves are both functional and aesthetically pleasing.
For a polished shelf display, verify marks align with the shelf’s mounting hardware, accounting for its thickness. Accurate marking prevents uneven shelves, ensuring your floating shelves support heavy loads while maintaining a sleek, modern aesthetic.
Conclusion
Drilling holes for heavy-duty floating shelves requires precision and the right techniques to ensure a secure, stylish shelf display capable of holding substantial weight. These 10 essential tips—from choosing masonry bits to testing load capacity—guide you through a professional installation that protects your walls while supporting heavy decor like books or appliances. Whether you’re drilling into drywall, brick, or tile, these methods ensure durability and a modern look for your DIY wall decor. Start your project with confidence, save this guide for future reference, or explore more home decor tips to create a functional, stunning space that’s built to last!