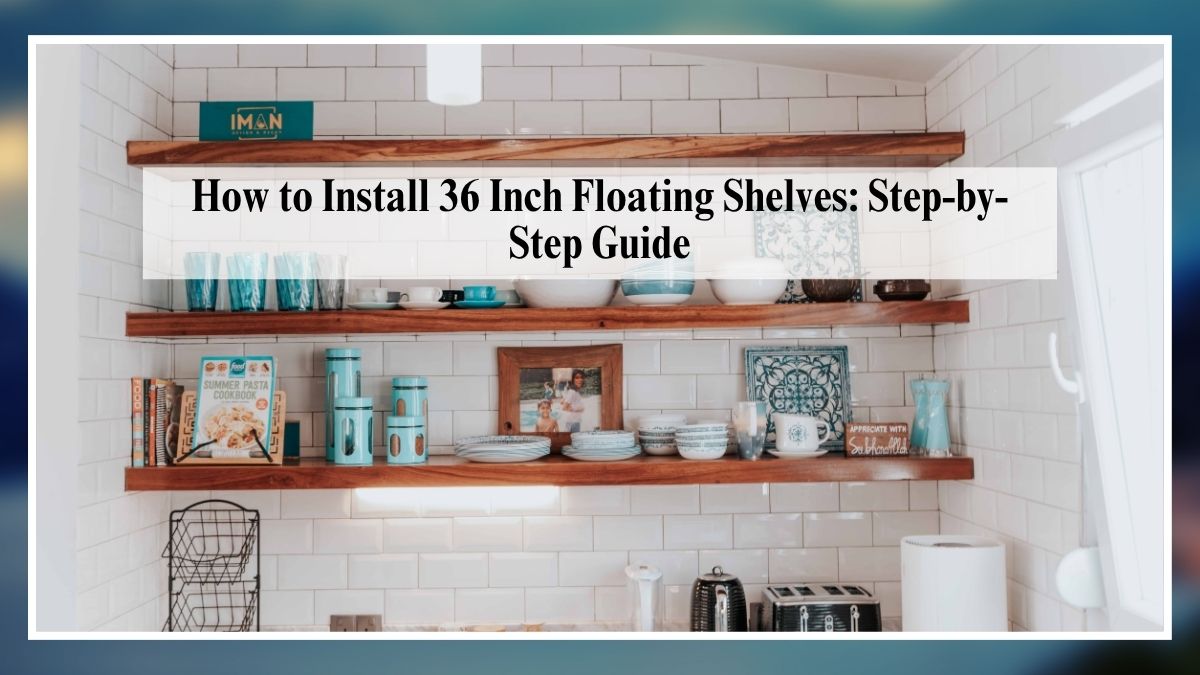
How to Install 36 Inch Floating Shelves: Step-by-Step Guide
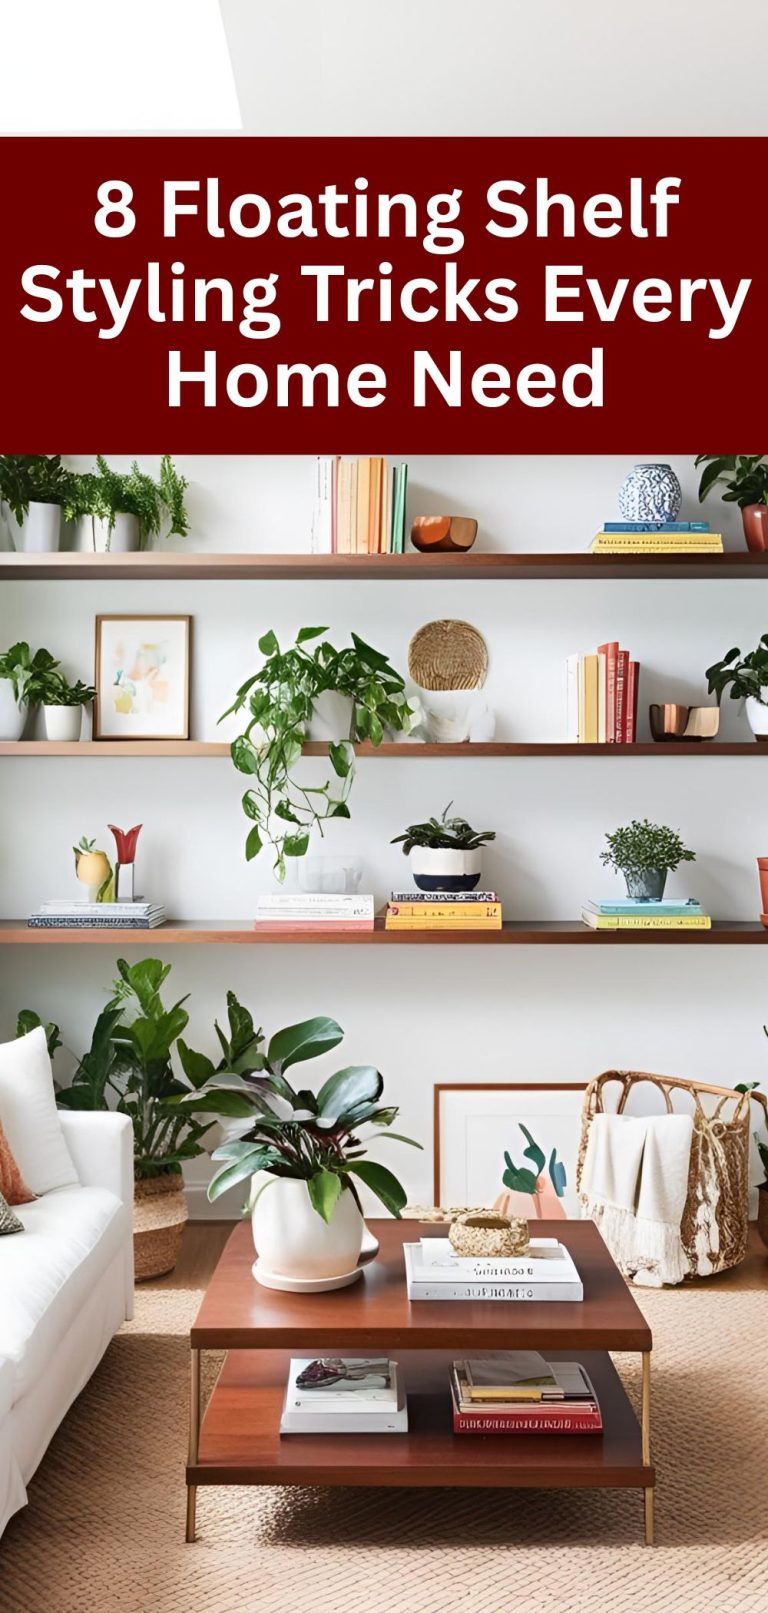
Installing 36-inch floating shelves adds a sleek, modern touch to your space, providing stylish storage for books, decor, or kitchen essentials without visible brackets. These mid-length shelves are versatile for living rooms, bedrooms, or bathrooms, but require precise installation to ensure stability and a professional look. This step-by-step guide offers 10 detailed tips for securely mounting 36-inch floating shelves on drywall, creating a cozy home decor setup that’s both functional and elegant. Let’s get started with this comprehensive installation process.
Tools and Materials Needed
- Electronic stud finder (e.g., Franklin Sensors ProSensor M150, $25–$50)
- Laser level or spirit level (e.g., Bosch GLL 30 or Stanley 12-Inch, $5–$100)
- Cordless drill with bits (e.g., DeWalt 20V Max, $60–$200; 1/8-inch to ½-inch bits, $5–$25)
- Screwdriver set or drill bit adapter (e.g., Craftsman 8-Piece, $10–$30)
- Measuring tape (e.g., Stanley 25-Foot, $5–$20) and pencil ($1–$5)
- 36-inch floating shelf with mounting bracket (e.g., Wallniture or KES, $20–$80)
- Wood screws (2½–3 inches, $5–$15) for studs or toggle bolts (e.g., Toggler Snaptoggle, $10–$25 for 10) for drywall
- Paintable caulk (e.g., DAP Alex Plus, $5–$10) for concealing gaps
- Handheld vacuum or broom (e.g., BLACK+DECKER Dustbuster, $20–$80; broom, $5–$15)
- Painter’s tape (e.g., ScotchBlue, $5–$10) for marking and dust control
Choose a High-Quality 36-Inch Floating Shelf
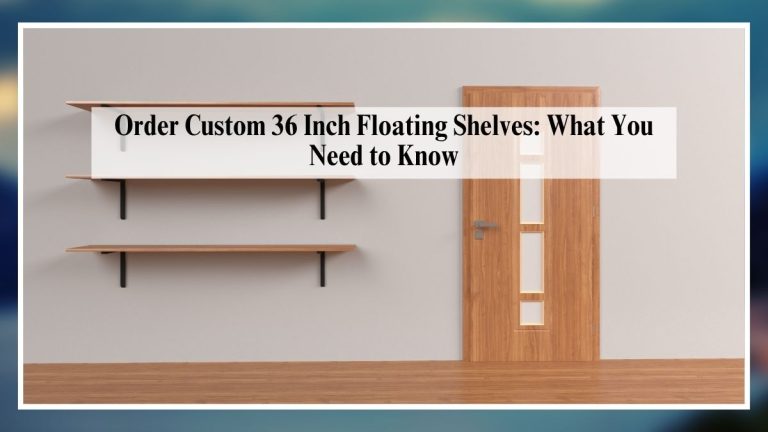
Select a 36-inch floating shelf with a hidden bracket system, such as a steel rod or plate, rated for your intended load (20–100 pounds). Brands like Wallniture or KES offer sturdy wood or MDF shelves with internal brackets for a seamless look. Ensure the shelf depth (6–12 inches) suits your space and storage needs, like books or decor.
Check the kit includes mounting hardware (brackets, screws, or anchors) compatible with drywall or studs. This shelf selection tip ensures your shelf is both stylish and functional, complementing your cozy home decor.
Verify the shelf’s weight capacity matches your planned use (e.g., 50 pounds for books). This initial planning step sets the foundation for a secure, 36-inch floating shelf installation.
Locate and Mark Wall Studs
Use an electronic stud finder to locate wall studs, typically 16 or 24 inches apart, as they provide the strongest support for your 36-inch floating shelf. Move the stud finder horizontally across the wall, marking stud centers with a pencil. A 36-inch shelf should ideally span at least two studs for stability, especially for loads over 30 pounds.
Confirm stud locations by tapping (studs sound solid, not hollow) or using a thin nail test. If studs are unavailable, plan for heavy-duty drywall anchors. This stud-finding technique ensures your shelf can handle significant weight, perfect for living rooms or kitchens.
In older homes, studs may be irregular, so double-check carefully. This essential alignment step keeps your floating shelf secure in your cozy home.

Determine Shelf Placement and Height
Decide where to mount your 36-inch floating shelf, typically at eye level (60–65 inches from the floor to the shelf’s top) for decor or 48 inches for functional storage (e.g., bathroom or kitchen). Use a measuring tape to mark the desired height, ensuring the shelf fits the wall’s width (at least 36 inches of clear space).
For multiple shelves, plan for 10–12 inches of vertical spacing to maintain balance. Mark the height lightly with a pencil, using a spirit level to ensure the line is straight. This placement planning tip creates a visually appealing setup, enhancing your home decor.
Consider nearby furniture or fixtures (e.g., above a sofa or sink) to ensure accessibility. This strategic positioning step sets up a functional, cozy bedroom or living space.
Mark Bracket Positions with a Laser or Spirit Level
Project a horizontal line using a laser level (or place a spirit level along the wall) at the marked height to ensure your 36-inch floating shelf is perfectly straight. Mark the line with a pencil or painter’s tape to guide bracket placement, aligning with stud centers for maximum strength.
If the shelf’s bracket has multiple mounting holes, use the provided template or measure the hole spacing (typically 16–32 inches apart) to mark screw points along the level line. This precision leveling technique prevents tilting, ensuring a professional look in your cozy home.
Double-check the line’s levelness across the 36-inch span, especially for heavier shelves. This alignment step guarantees your floating shelf sits flawlessly.
Drill Pilot Holes for Brackets
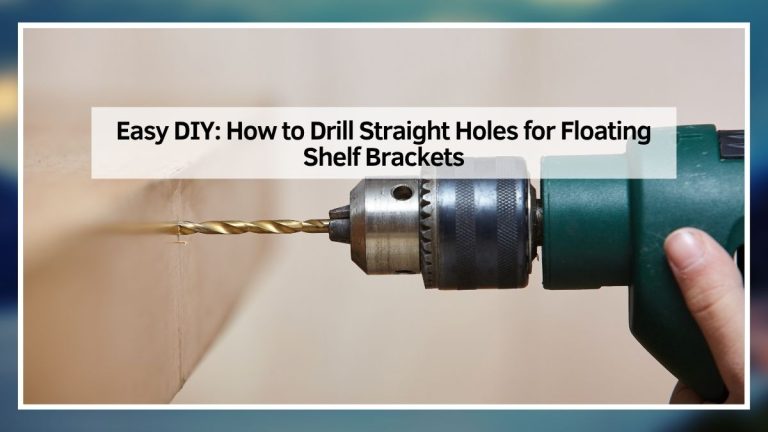
Using a cordless drill, create pilot holes at the marked screw points for the shelf’s hidden bracket. For studs, use a 1/8-inch bit and drill 1½–2 inches deep to accommodate 2½–3-inch wood screws. For drywall without studs, use a ½-inch bit for toggle bolts (rated 50–100 pounds).
Keep the drill perpendicular to the wall to ensure screws or bolts seat properly, avoiding drywall damage. Clean dust from holes with a handheld vacuum for a secure fit. This drilling technique ensures the bracket is firmly anchored, supporting your 36-inch floating shelf.
Place painter’s tape under the drill site to catch dust, simplifying cleanup. This preparation step sets up a sturdy, cozy home decor installation.
Install the Hidden Bracket System
Secure the hidden bracket (typically steel rods or a plate) to the wall using the provided hardware. For studs, drive 2½–3-inch wood screws through the bracket’s holes into the pilot holes, using a screwdriver or drill with a screwdriver bit. For drywall, insert toggle bolts, tightening until the wings grip the wall’s back.
Ensure the bracket is level by placing a spirit level on top before fully tightening screws. For a 36-inch shelf, use at least two mounting points, ideally into studs, to distribute weight evenly. This bracket installation method creates a seamless, floating effect, perfect for your cozy bedroom or living room.
Test bracket stability by applying gentle pressure before attaching the shelf. This secure mounting step ensures your floating shelf stays put.
Slide the Shelf onto the Bracket
Carefully slide the 36-inch floating shelf onto the bracket’s rods or plate, ensuring a snug fit. Most floating shelves have pre-drilled holes or a hollow back to accommodate the bracket. Push the shelf flush against the wall, checking that it fully engages the bracket for maximum stability.
Use a spirit level on the shelf’s top to confirm it’s straight, adjusting the bracket slightly if needed (loosen screws and shim with thin washers). This shelf attachment technique creates a clean, hardware-free look, enhancing your home decor.
If the shelf is loose, ensure the bracket rods are fully inserted or add adhesive (e.g., construction glue) for a tighter fit. This installation step completes the cozy floating shelf setup.
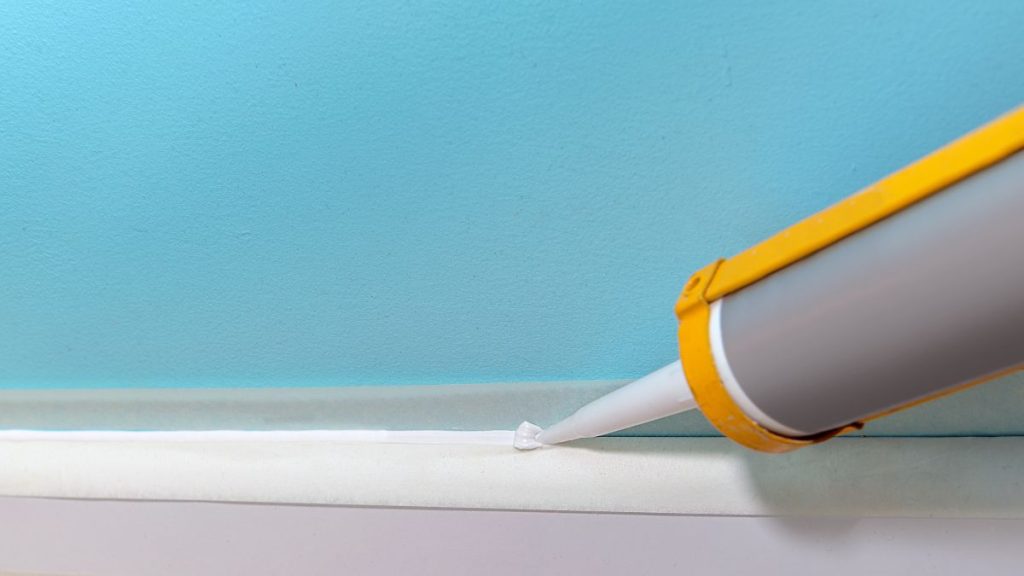
Conceal Gaps with Caulk
For a seamless look, conceal gaps between the 36-inch floating shelf and the wall using paintable caulk. Apply a thin bead of caulk (e.g., DAP Alex Plus) along the shelf’s top and side edges where it meets the wall, smoothing with a damp finger or caulk tool for a clean finish.
If the shelf is wood, use wood filler ($5–$15) to cover any visible imperfections, sanding lightly and painting to match. This gap-concealing method makes the shelf appear built-in, perfect for a cozy home aesthetic.
Allow caulk or filler to dry for 24 hours before loading the shelf. This finishing touch ensures your floating shelf looks polished and professional.
Test Stability and Load Gradually
Test the shelf’s stability before fully loading to ensure the 36-inch floating shelf is secure. Place a spirit level on top to confirm levelness, then apply 5–10 pounds of pressure to check for wobbling or bracket movement. If stable, add weight incrementally over 24 hours, staying within the shelf’s capacity (e.g., 50–100 pounds for stud-mounted shelves).
If the shelf tilts, tighten screws or add shims (thin washers, $3–$5) to level the bracket. This stability testing tip ensures safety for items like books, plants, or decor, preventing accidents in high-traffic areas.
Distribute weight evenly across the 36-inch span to avoid stressing one side. This quality control step keeps your floating shelf secure, supporting your cozy home decor.
Maintain and Inspect Regularly
Regular maintenance ensures your 36-inch floating shelf remains level and secure over time. Inspect every 3–6 months for loose screws, wall stress, or shelf movement, tightening hardware or adding anchors as needed. Humidity or heavy loads can affect stability, so proactive checks are essential.
Clean the shelf with a damp cloth, avoiding harsh chemicals that could damage finishes. Redistribute weight periodically to prevent sagging, staying within the shelf’s capacity. This maintenance routine preserves the shelf’s appearance, ideal for living rooms, bedrooms, or bathrooms.
Reapply caulk if gaps appear due to settling, maintaining a seamless look. This ongoing care tip keeps your floating shelf sturdy and stylish, supporting a cozy, organized home.
Frequently Asked Questions (FAQs)
How much weight can a 36-inch floating shelf hold?
Stud-mounted shelves hold 50–100 pounds; drywall with toggle bolts supports 30–70 pounds per bracket, depending on the system.
Do I need studs to install a 36-inch floating shelf?
Studs are ideal for heavy loads, but toggle bolts or molly bolts (25–75 pounds) work for drywall without studs if rated appropriately.
What tools are essential for installing a 36-inch floating shelf?
A stud finder, laser or spirit level, cordless drill, screwdriver, measuring tape, and vacuum for cleanup are key.
How high should I mount a 36-inch floating shelf?
Install at eye level (60–65 inches from the floor) for decor or 48 inches for functional storage, adjusting for room use.
How do I ensure my floating shelf is level?
Use a laser or spirit level to align the bracket, recheck after mounting the shelf, and adjust with shims if needed.
How do I clean and maintain a 36-inch floating shelf?
Wipe with a damp cloth, inspect screws every 3–6 months, and reapply caulk if gaps appear to maintain a seamless look.
Conclusion
Installing a 36-inch floating shelf is a rewarding DIY project that enhances your space with stylish, functional storage. With hidden brackets, stud mounting, and precise leveling, these 10 step-by-step tips ensure a secure, professional installation that elevates your cozy home decor. Whether you’re organizing a living room, bedroom, or bathroom, this guide guarantees a sturdy, seamless shelf setup. Ready to transform your space? Gather your tools, follow these steps, and install your 36-inch floating shelf today—or explore more home organization ideas on our blog!