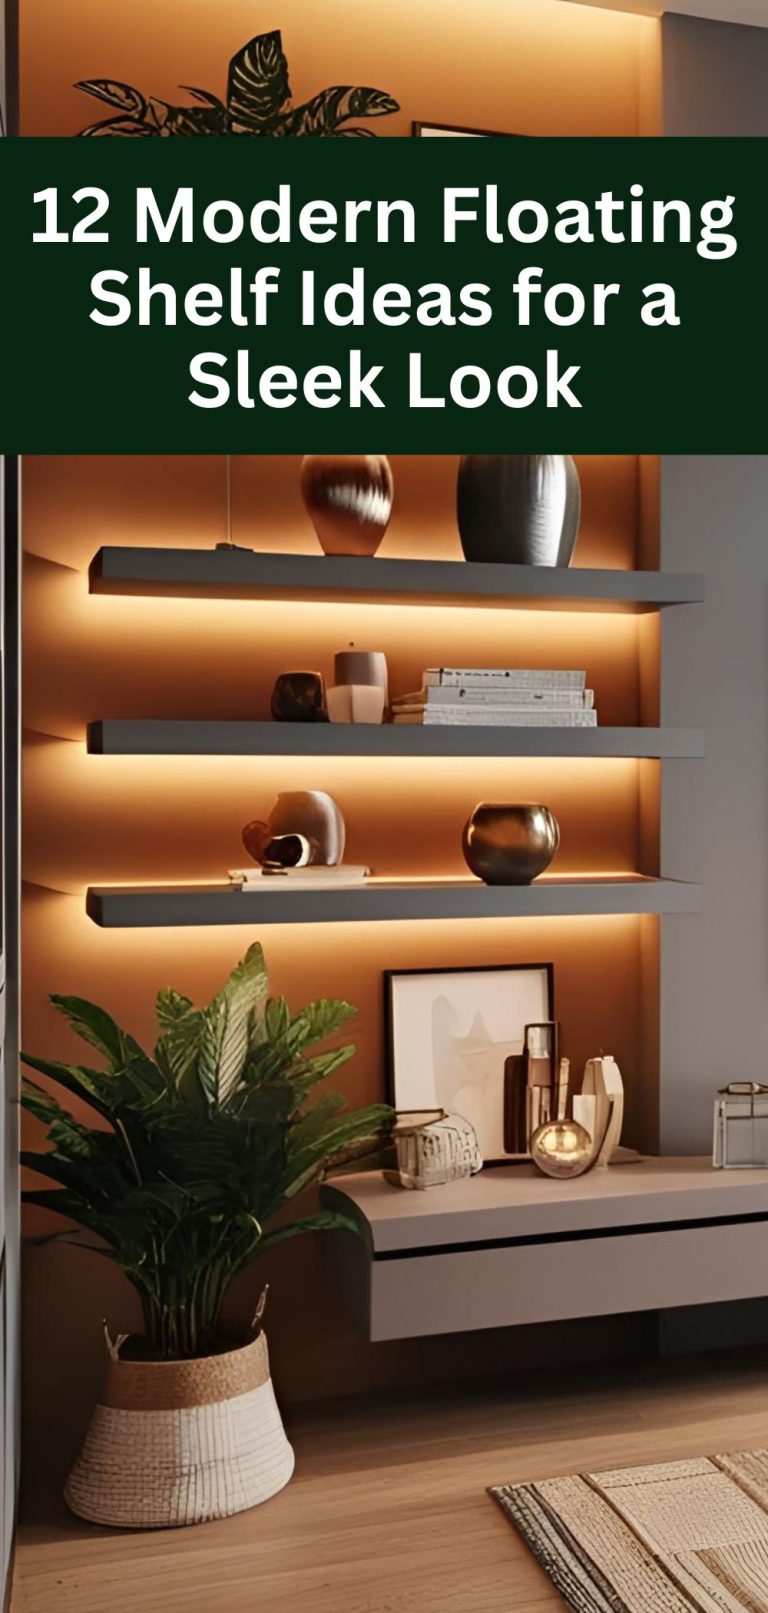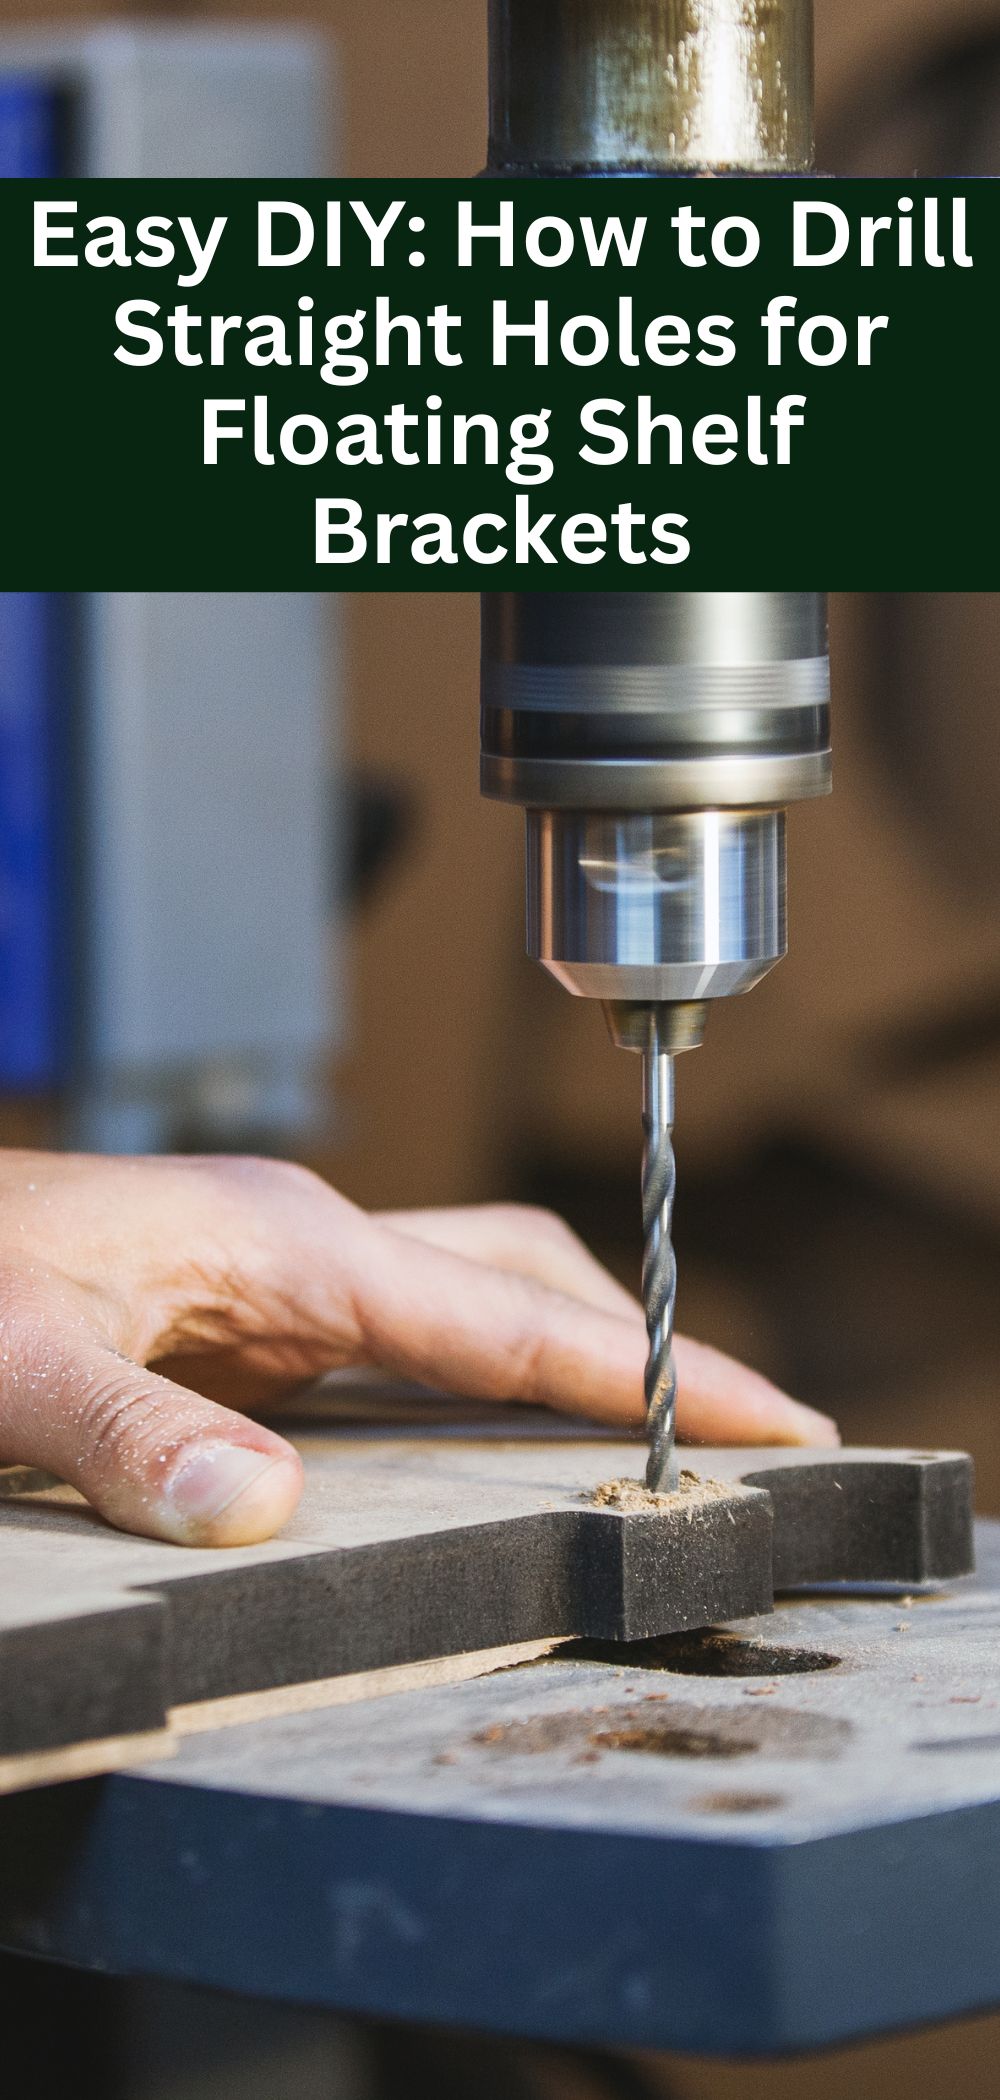
Easy DIY: How to Drill Straight Holes for Floating Shelf Brackets
Installing floating shelves adds a sleek, modern touch to any space, but drilling straight holes for shelf brackets is crucial for a secure, level shelf display. Crooked or angled holes can lead to wobbly shelves or wall damage, undermining your DIY wall decor efforts. With the right tools and techniques, anyone can achieve professional, perfectly aligned results, even as a beginner. Below, we share 10 easy DIY tips for drilling straight holes for floating shelf brackets, ensuring a sturdy, polished look for your home, whether you’re a renter or homeowner.
1. Use a Bubble Level to Mark Bracket Holes
A bubble level is your best friend for ensuring straight, aligned holes for floating shelf brackets. Before drilling, place the level on the wall at your desired shelf height—typically 57–60 inches from the floor for eye-level appeal—and mark the bracket hole locations with a pencil. This ensures your shelf display will be perfectly horizontal, creating a modern, professional DIY wall decor setup.
Hold the shelf’s mounting bracket or a provided template against the wall, using the bubble level to confirm it’s straight. Mark through the bracket’s screw holes for precise drilling spots. For longer shelves, check alignment across the entire length to avoid tilting. This step sets the foundation for straight holes, keeping your floating shelves secure and visually appealing.
If working on uneven surfaces like brick or tile, place a flat board under the level for stability. Accurate marking with a bubble level prevents angled holes, ensuring your shelf brackets sit flush and support decor like books or plants effortlessly.
2. Create a Drilling Guide with Painter’s Tape
Painter’s tape is a simple trick to guide your drill and prevent slippage, especially on slick surfaces like tile or glossy drywall. After marking your bracket holes with a bubble level, place a small piece of tape over each mark. Remark the spots on the tape, which helps the drill bit grip and keeps your marks visible, ensuring a clean, straight hole for your shelf display.
The tape also reduces drywall dust or tile cracking, protecting your wall during DIY wall decor projects. Drill slowly through the tape, keeping the drill perpendicular to the wall for a straight hole. Peel the tape off gently after drilling to avoid lifting paint or glaze, leaving your wall pristine.
For brick or tile, tape is especially useful to stabilize the masonry bit. This easy technique enhances precision, ensuring your floating shelf brackets align perfectly and support a modern, renter-friendly shelf display without wall damage.
3. Use a Drill with a Built-In Level
Some modern drills come with a built-in bubble level, making it easier to drill straight holes for floating shelf brackets. These tools help you maintain a perpendicular angle to the wall, reducing the chance of angled holes that weaken your shelf display. They’re ideal for beginners tackling DIY wall decor in living rooms or kitchens.
Before drilling, align the drill’s built-in level so the bubble centers, ensuring the bit enters the wall straight. Mark your bracket holes with a separate bubble level for accuracy, then use the drill’s level to guide each hole. This double-check system creates precise, professional holes for shelf brackets, supporting decor like vases or books.
If your drill lacks a built-in level, hold a small torpedo level against the drill body as you work. Combining a leveled drill with marked spots ensures your floating shelves are secure and perfectly aligned, enhancing your space’s modern aesthetic.
4. Make a DIY Drilling Jig from Scrap Wood
A DIY drilling jig made from scrap wood ensures consistently straight holes for floating shelf brackets. Cut a small block of wood (about 4×4 inches) and drill a straight hole through it using a drill press or careful hand-drilling. This jig acts as a guide, keeping your drill bit perpendicular to the wall for a flawless shelf display.
Place the jig against the wall over your marked bracket holes, aligning the jig’s hole with the mark. Hold it firmly and drill through the jig into the wall, maintaining steady pressure. The jig forces the bit to stay straight, preventing angled holes that could destabilize your DIY wall decor. Use a bubble level to ensure your marks are aligned before drilling.
This method is renter-friendly, as it minimizes wall damage by ensuring clean, precise holes. Pair with modern decor like plants or frames for a polished floating shelf look. A DIY jig is a budget-friendly way to achieve professional results.
5. Drill Pilot Holes for Precision and Control
Drilling a pilot hole with a smaller bit (e.g., 1/8 inch) guides your larger drill bit, ensuring straight, accurate holes for floating shelf brackets. Mark your holes with a bubble level, then drill a shallow pilot hole at each spot, keeping the drill perpendicular to the wall. This reduces bit wander, especially in drywall or brick, creating a stable shelf display.
For drywall, a standard bit works for pilot holes; for brick or tile, use a masonry bit on a low-speed setting (300–600 RPM). Once pilot holes are set, switch to the bit size needed for your anchors (e.g., 5/16 inch) and drill to the required depth, typically 1.5–2 inches. This ensures anchors fit snugly, supporting your floating shelves.
Pilot holes prevent wall damage and make anchor insertion easier, enhancing the professionalism of your DIY wall decor. This technique ensures shelf brackets align perfectly, creating a modern, renter-friendly setup for decor like books or candles.
6. Use a Right-Angle Drill Guide Tool
A right-angle drill guide is a handy tool for drilling straight holes, ensuring your floating shelf brackets are securely mounted. These guides attach to your drill or sit against the wall, forcing the bit to enter at a 90-degree angle. They’re ideal for beginners or complex DIY wall decor projects on drywall, brick, or tile, creating a flawless shelf display.
Mark your bracket holes with a bubble level, then position the guide over each mark, securing it if required. Drill through the guide’s sleeve, keeping steady pressure to maintain a straight path. This tool eliminates guesswork, preventing angled holes that weaken your floating shelves. It’s especially useful for hard surfaces like tile, where precision is critical.
Pair the guide with quality drill bits and anchors for a professional setup. Decorate your shelves with modern items like succulents or frames for a chic look. A right-angle guide ensures straight, renter-friendly holes, elevating your DIY wall decor.
7. Keep the Drill Perpendicular with Visual Cues
Maintaining a perpendicular angle while drilling is key to straight holes for floating shelf brackets. Before drilling, mark your holes with a bubble level, then visualize the drill as an extension of the wall’s surface. Stand squarely facing the wall, aligning your body and drill to keep the bit at a 90-degree angle, ensuring a stable shelf display.
For added accuracy, place a small square or L-shaped ruler against the wall next to the mark, using it as a visual guide to check the drill’s angle. Drill slowly, pausing to confirm alignment, especially in drywall or brick where bit wander is common. This technique creates clean, straight holes for your DIY wall decor project.
Practice on a scrap piece of wood to hone your technique. Pair straight holes with modern decor like ceramic vases for a polished floating shelf look. Visual cues ensure shelf brackets are securely mounted, keeping your setup renter-friendly and professional.
8. Secure the Wall with a Helper or Clamp
Keeping the drill steady is easier with a helper or clamp, ensuring straight holes for floating shelf brackets. Have a helper hold the bubble level or bracket template against the wall while you mark and drill, maintaining alignment for a level shelf display. Alternatively, use a clamp to secure a wooden board or template to the wall, freeing your hands for drilling.
This stability prevents the drill bit from slipping, especially on hard surfaces like tile or brick, creating precise holes for your DIY wall decor. Drill slowly, keeping the bit perpendicular, and check alignment with the level periodically. A helper or clamp is renter-friendly, as it minimizes wall damage by ensuring clean, straight holes.
For solo projects, a clamp is a budget-friendly alternative. Decorate your floating shelves with modern items like books or plants for a chic look. This technique ensures shelf brackets are perfectly aligned, enhancing your space’s aesthetic.
9. Test Hole Alignment with a Screw Before Anchoring
After drilling, test your holes’ alignment for floating shelf brackets by partially inserting a screw before adding anchors. Use a bubble level to confirm your marked holes are level, then drill pilot holes and insert a screw by hand to check if it sits flush and straight. This ensures your shelf display will be secure and aligned, avoiding wobbly shelves.
If the screw angles or feels loose, re-drill with a slightly larger pilot hole or adjust the mark, checking with the level. For drywall, use toggle bolts or drywall anchors after confirming alignment; for brick or tile, use masonry anchors. This step prevents wall damage and ensures a professional DIY wall decor setup.
Test all holes before fully installing brackets, ensuring they support floating shelves for decor like frames or heavy books. This renter-friendly technique creates a sturdy, modern look with minimal effort.
10. Patch Mistakes Cleanly for a Flawless Finish
If you drill an off-angle hole for your floating shelf brackets, patching it cleanly keeps your DIY wall decor project professional. For drywall, fill the hole with spackling paste, smooth with a putty knife, and sand lightly after drying. For brick, use masonry caulk; for tile, apply color-matched grout or caulk, ensuring a seamless finish for your brick or tile walls.
Use a bubble level to re-mark corrected holes, ensuring alignment before re-drilling. Apply patching material sparingly, wiping excess with a damp cloth to avoid visible patches. This renter-friendly step protects your security deposit or home’s integrity, allowing you to adjust your shelf display without lasting damage.
Document patching for landlord verification, if needed. Clean patching ensures your floating shelves installation remains flawless, maintaining a modern, polished aesthetic for your space.
Frequently Asked Questions (FAQs)
Why is drilling straight holes important for floating shelves?
Straight holes ensure floating shelf brackets sit flush, creating a level, secure shelf display that supports decor without wobbling or damaging walls in DIY wall decor.
What tools help drill straight holes for shelf brackets?
A bubble level, painter’s tape, right-angle drill guide, or DIY jig keeps your drill perpendicular, ensuring precise holes for a professional floating shelf setup.
How do I avoid angled holes when drilling for shelves?
Use a pilot hole, keep the drill perpendicular with visual cues or a guide, and check alignment with a bubble level for straight, secure shelf brackets.
Can I drill straight holes in tile or brick for shelves?
Yes, use painter’s tape and a masonry bit at low speed (300–600 RPM), guided by a bubble level, to drill straight holes without cracking for DIY wall decor.
How do I patch mis-drilled holes in drywall?
Fill with spackling paste, smooth, and sand after drying. Use a bubble level to re-mark holes, ensuring a seamless, renter-friendly floating shelf installation.
What if my shelf brackets aren’t level after drilling?
Test holes with a screw, re-drill if needed, and patch mistakes with spackling paste. Use a bubble level to ensure a straight shelf display for your floating shelves.
Conclusion
Drilling straight holes for floating shelf brackets is a simple yet essential skill for creating a secure, modern shelf display that elevates your home. These 10 easy DIY tips—from using a bubble level to patching mistakes—ensure precise, professional results, even for beginners. Whether you’re installing floating shelves in a living room, kitchen, or bathroom, these techniques deliver a polished, renter-friendly DIY wall decor setup without wall damage. Grab your drill and start your project today, save this guide for future inspiration, or explore more home decor tips to craft a stylish, perfectly aligned space!